
Desert Online General Trading LLC
Dubai, United Arab Emirates
Desert Online General Trading LLC
Dubai, United Arab Emirates


🚗 Code, Control, Conquer: Drive Your STEM Journey Forward!
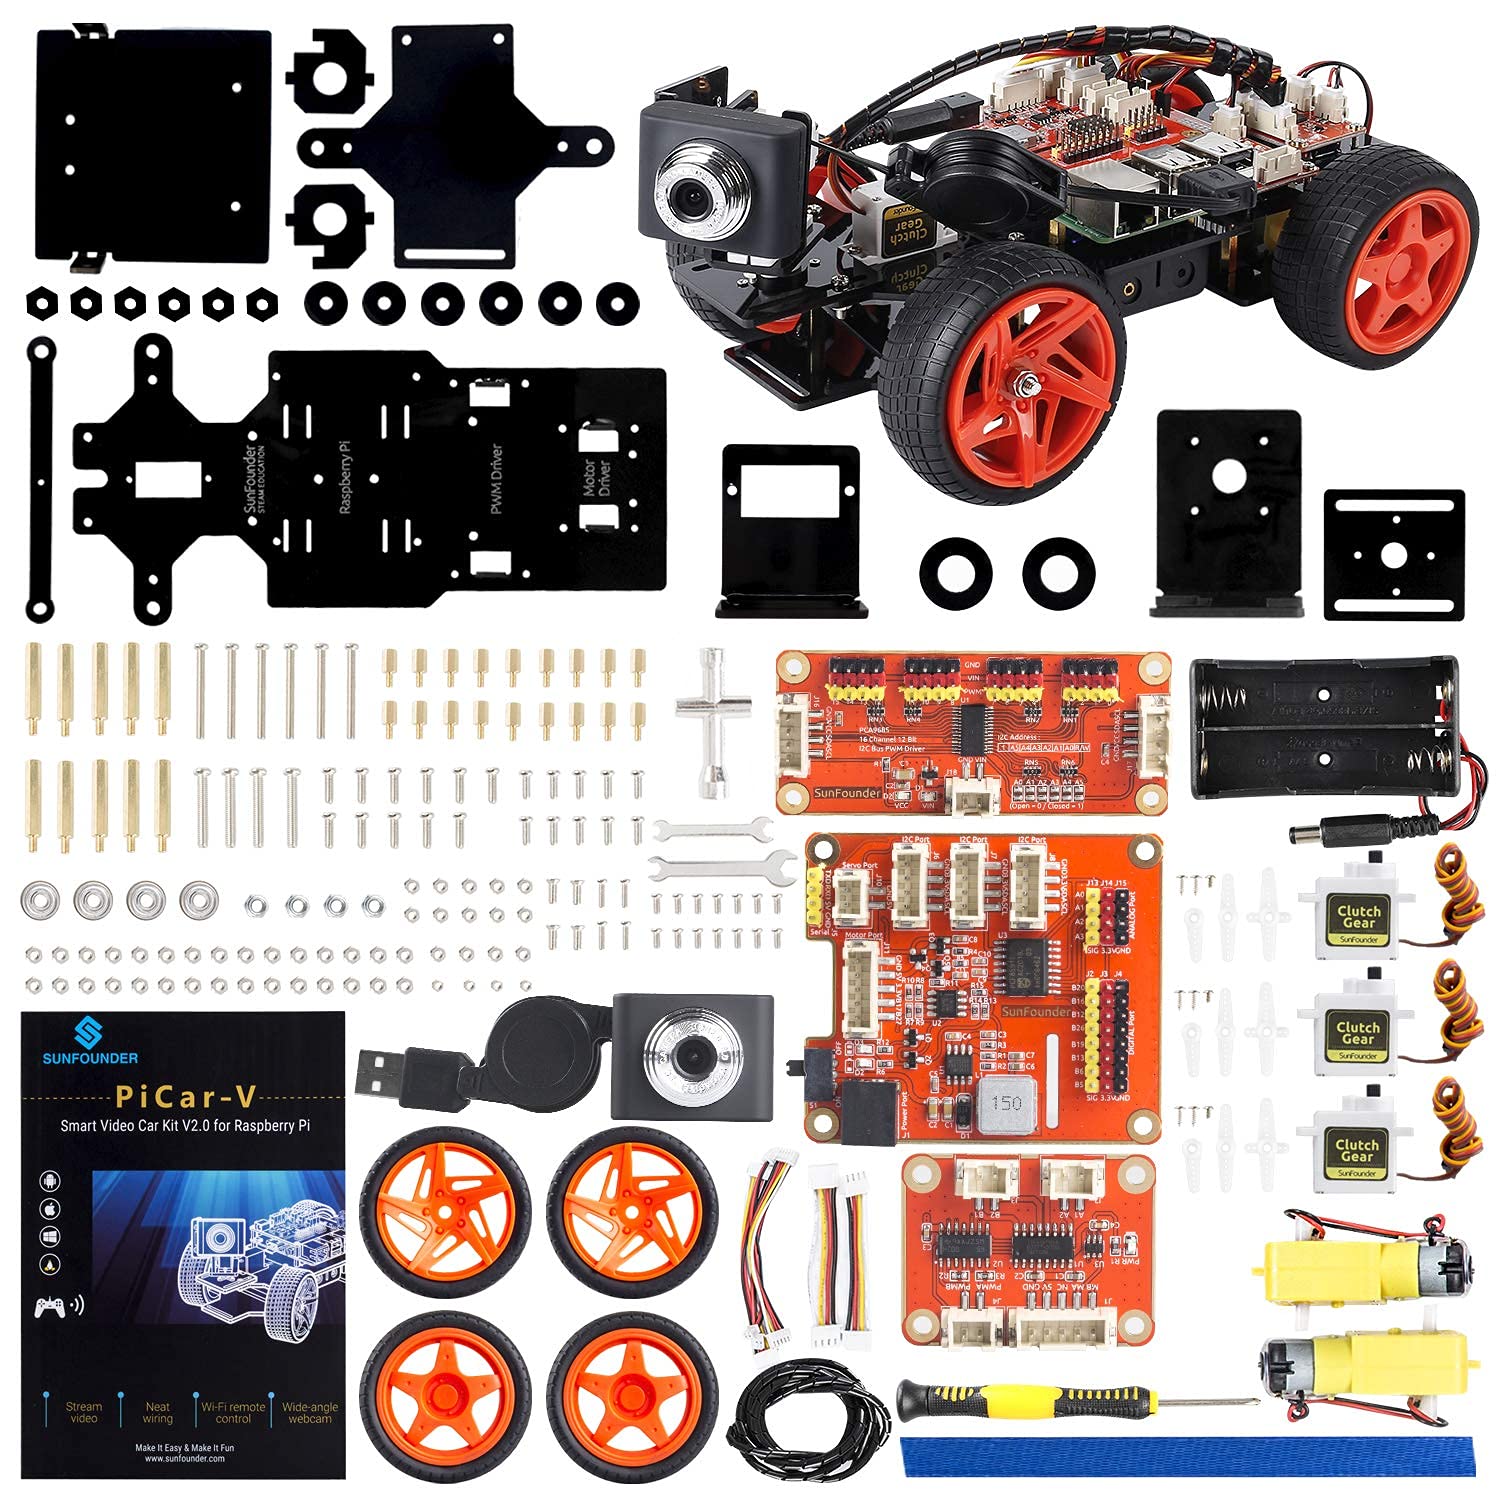
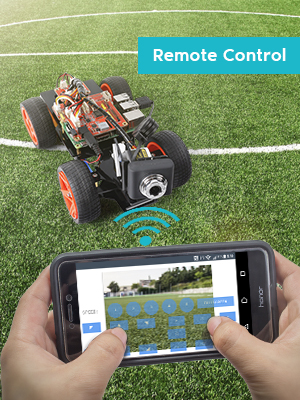
The SunFounder Raspberry Pi Smart Video Car Kit V2.0 is an advanced educational robotics kit designed for Raspberry Pi enthusiasts. Featuring real-time wide-angle video transmission, cross-platform remote control via PC or browser, and an easy-to-learn visual programming interface, it offers a hands-on STEM experience. Enhanced with protective hardware upgrades, this kit fosters collaborative learning and creativity without the need for batteries.


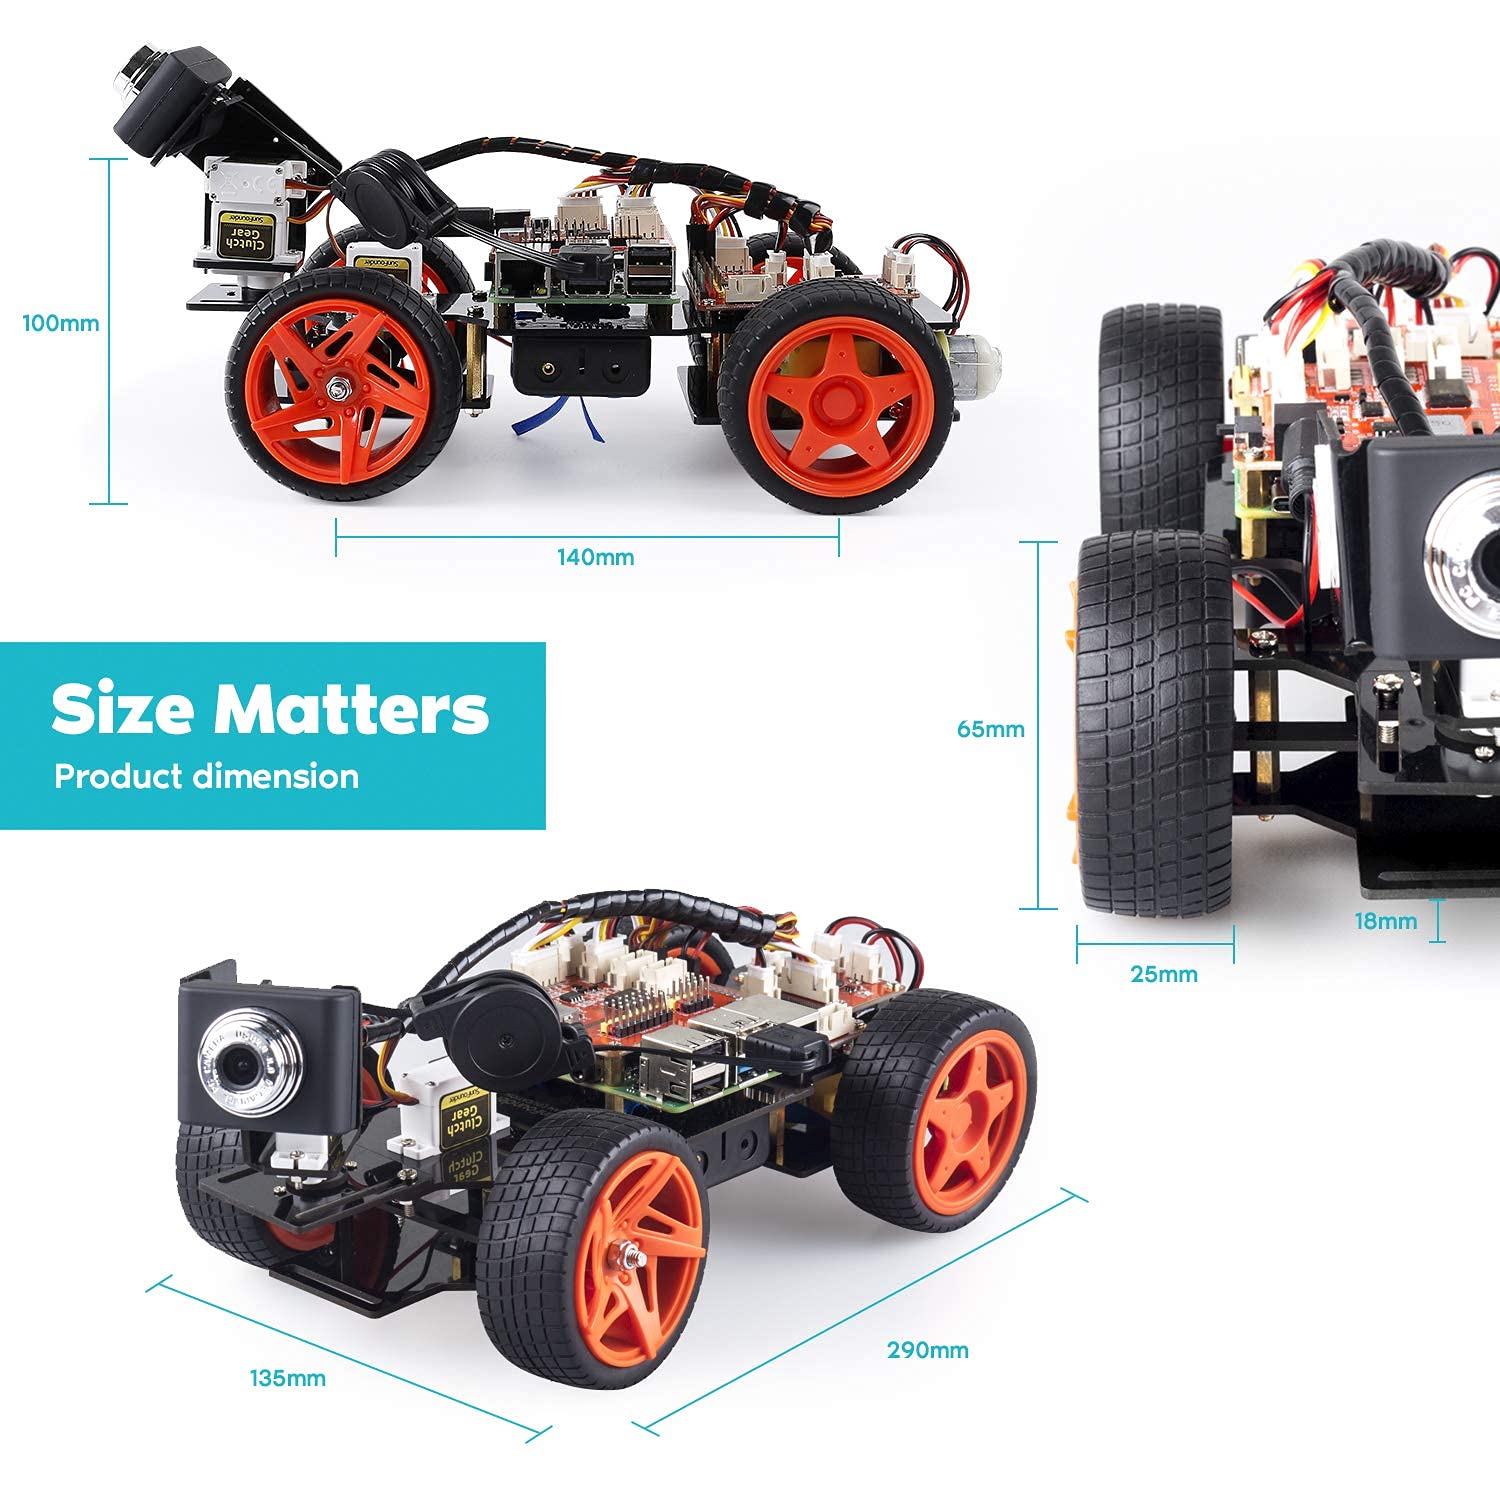
| Product Dimensions | 25.4 x 14.73 x 7.62 cm; 500 g |
| Manufacturer recommended age | 0 - 12 years |
| Item model number | SF-PICARVS |
| Number of Puzzle Pieces | 1 |
| Assembly Required | No |
| Batteries Required? | No |
| Batteries Included? | No |
| tech_spec_battery_description_toys | no batteries required |
| Material Type(s) | Polycarbonate |
| Remote Control Included? | Yes |
| ASIN | B06XWSVLL8 |
Trustpilot
Hace 2 meses
Hace 2 meses