


🖤 Elevate your steps with style and safety — don’t miss out on peace of mind!
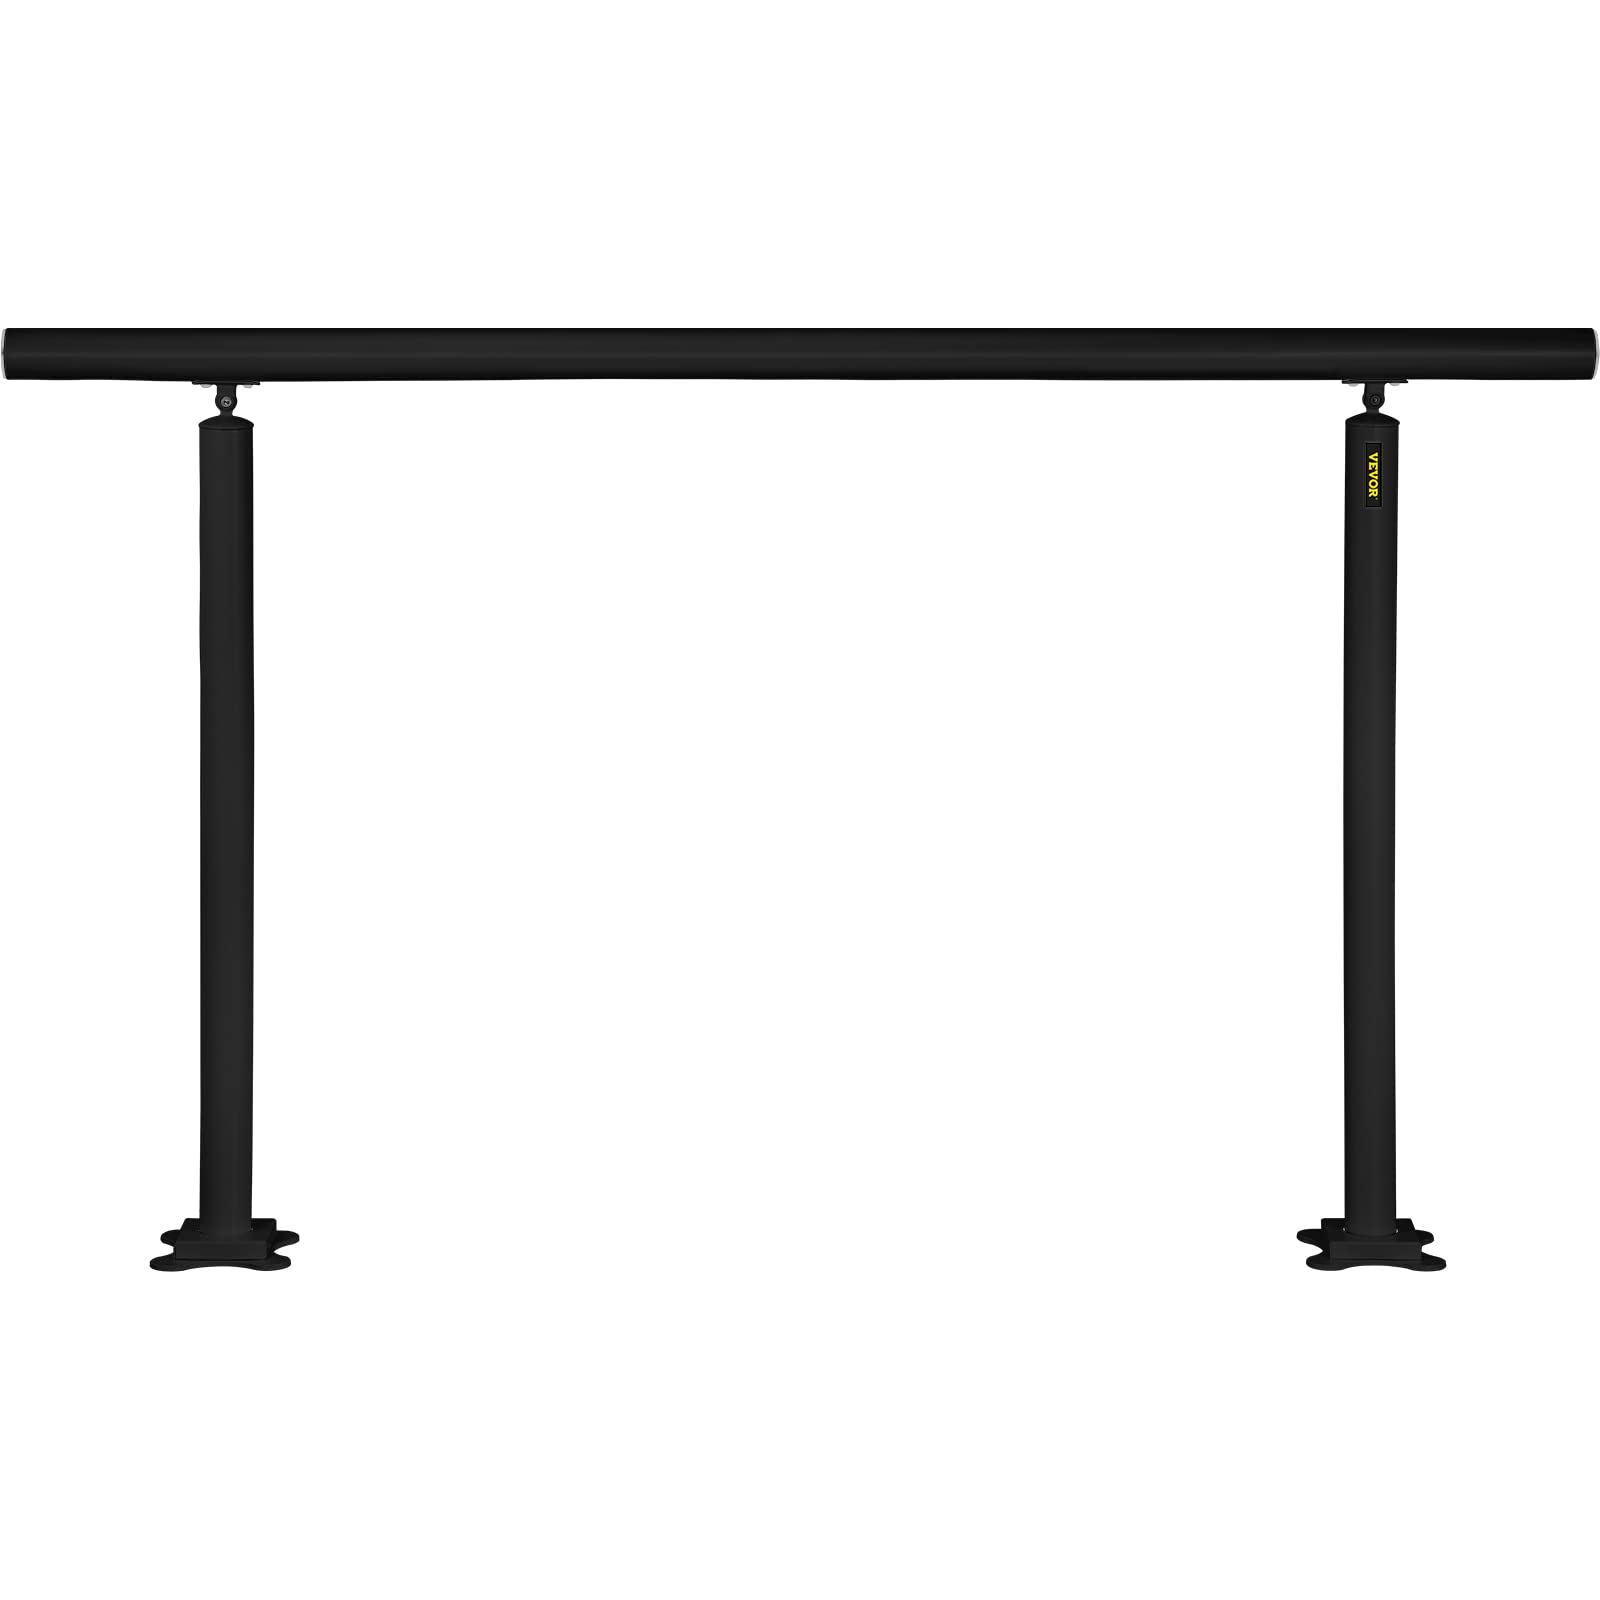
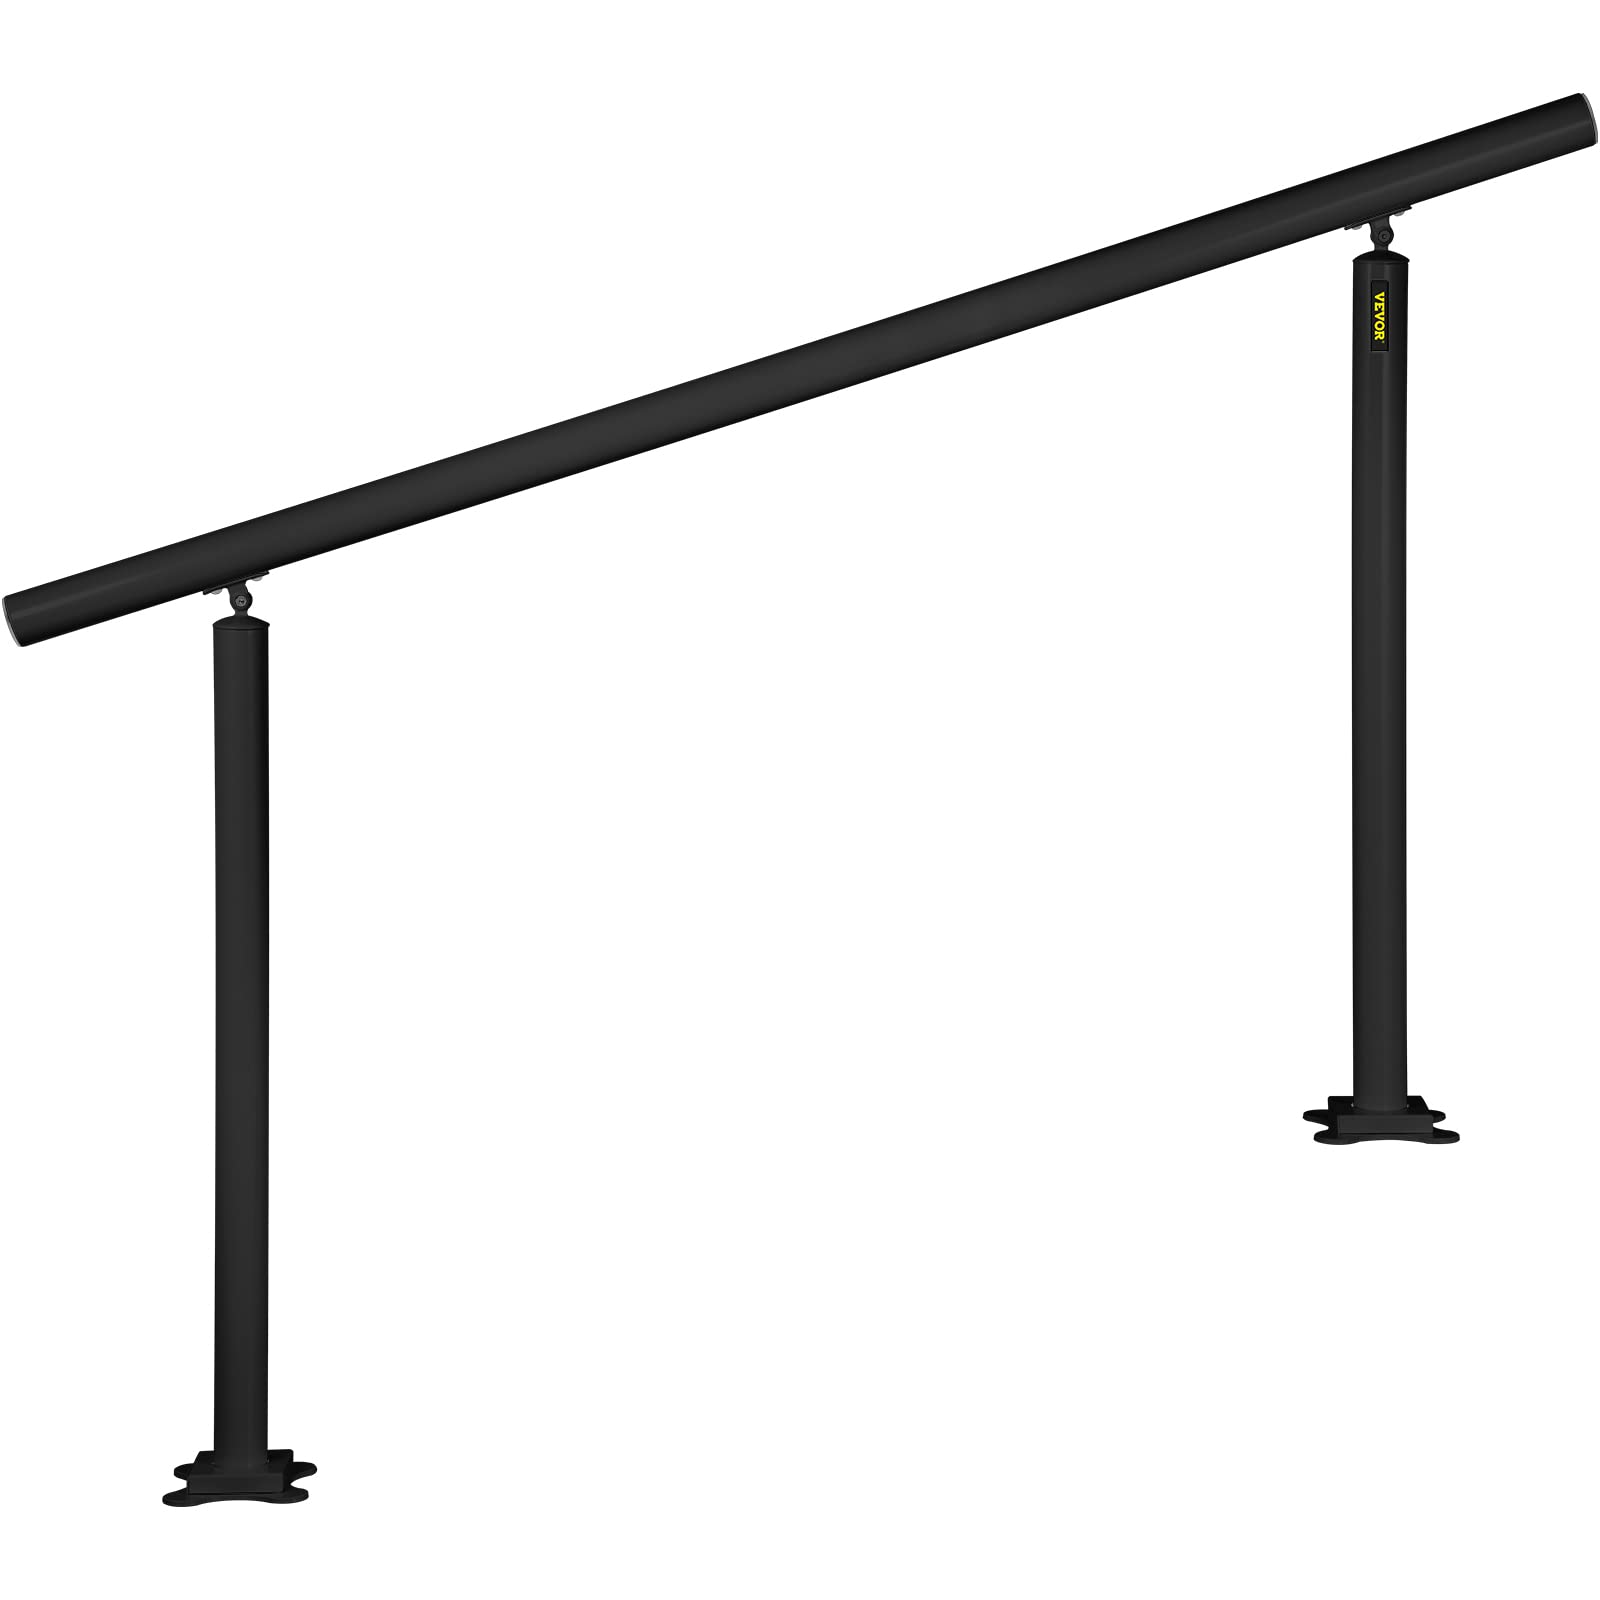
The VEVOR Outdoor Stair Railing Kit is a versatile, powder-coated black aluminum handrail designed for 0-5 steps with an adjustable 0°-60° angle. It supports up to 155 lbs and installs easily on various surfaces with a solid base and pre-drilled holes. Ideal for enhancing safety and style on indoor and outdoor stairs, it’s perfect for families seeking durable, elegant support for all ages.


| Brand | VEVOR |
| Material | Aluminum |
| Color | Black |
| Item Weight | 9.9 Pounds |
| Product Dimensions | 60"L x 35.8"W |
| Style | Style3 - Round |
| Finish Type | Powder Coated |
| Weight capacity | Maximum weight: 155 Pounds |
| Manufacturer | VEVOR |
| UPC | 840281598229 |
| Part Number | Stair Railing Kit 5 FT Black |
| Item Weight | 9.9 pounds |
| Item model number | Black 4-5 Step |
| Size | Black 4-5 Step |
| Finish | Powder Coated |
| Shape | Style3 - Round |
| Thickness | 1.96 Inches |
| Item Package Quantity | 1 |
| Maximum Weight Capacity | 155 Pounds |
| Cutting Diameter | 1.96 Inches |
| Included Components | 1 x Handrail |
| Batteries Required? | No |
| Assembled Diameter | 1.96 Inches |
A**L
Sturdy and nice finish
Why did you pick this product vs others?:This railing is very sturdy and liked the fact that it’s powder coated to withstand the weather.
B**R
Easy to install, well designed
We needed a hand rail along some outdoor steps. The steps are pavers and our iron works guy said he could not anchor the rail in them. He said we'd have to have some footers poured for his rail. His estimate was $2400. I poured 4 footers and installed two sections ov the Vevor rail for under $200. Sturdy, all the hardware was included, even a concrete drill bit. The only minor issue I had was that the bit was for an impact hammer and I only have a hammer drill. It did work, but the holes were slightly oversized.They look great and will provide security this winter when the steps are covered with ice and snow.Thanks, Vevor for an excellent product.
B**S
Great railing, but buy your own anchors
Railing was shipped & arrived quickly. Kit contained M10 (10mm) anchors. Nearly impossible to find a 10mm masonry drill bit in the U.S., and another reviewer had cautioned that the provided anchors were crap and strongly recommended not using them. So I put the provided cheap anchors aside and purchased Red Head Trubolt 3/8" x 2-1/4" wedge anchors ($12.98 for 15), and a Bosch 3/8" concrete/masonry bit ($7.98) from Lowe's. These worked perfectly and provided a great installation onto my precast concrete steps. Note, however, that these anchors have a threaded post and a nut, rather than a bolt, and required use of my cutoff saw to cut off the excess threads after installation. The railing itself assembled and installed easily, and I am quite pleased with the quality and sturdiness. I would have rated "Easy to install" 5 stars if the provided anchors had been 3/8" instead of useless metric, and higher quality. For "Sturdiness" I was hesitant to rate 5 stars since this is a lighter weight aluminum railing, and just simply won't be as strong as some available railings. However, the installed railing is sturdy, and I am quite pleased with it. I would definitely buy again.
C**M
6 ⭐️
Great product. Sturdy, affordable and pretty
J**N
Good purchase
My son installed these for a customer. He and the customer were both highly satisfied.
H**I
Not so bad
Kinda of shaky or thin metal not heavy duty but does the job
C**P
Sturdy
I added this handrail to the step on our hot tub to give us something to hold onto while getting in and out in the winter. Super easy assembly and installation. It has held up well and not rusted or discolored over the harsh conditions we have in the North.
C**.
instructions not great
I used this to help my mom with steps up from a sidewalk to a back patio. You will need a hammer drill, a 3/8" masonry bit, a sharpie marker and patience. I pre-assembled the rails to the post loosely. When doing this, it does make a difference which way you position it. The rail has a deeper cut for the bottom of the rail to allow for adjustment when viewed from the side. The escutcheon to cover the bolts in the base of the post should go on at this time, or you won't get them on because they are a solid piece, but you can use tape to get them out of the way.Set the post where you intend to use it, and use the sharpie to mark the holes. Move it out of the way and use tape on your drill bit to mark the depth of the bolts. Drill the holes, clean away the debris, place posts in position, tap bolts into place. I used a 14 mm socket on an extension with my socket wrench, and tightened the bolts gradually, much like putting on a car tire. Once the bolts were in place, I let the escutcheon down and used the hex tool provided to tighten the rails. I would recommend black outdoor caulk as a final step, but I haven't done that part yet myself. The finished product was solid, and I was grateful that there was room to use a socket wrench, as I watched a video on YouTube for another brand, and they has to tighten by hand because the holes were so close to the post.Overall, it took me 60 minutes to install, but that included setting up the hammer drill I bought, working with my mom, and being the first time I had ever done this type of install into concrete. If you have experience, it would surely take you less time!
Trustpilot
Hace 2 meses
Hace 1 mes


