⚡ Upgrade your ride with GM-grade precision and never miss a beat!
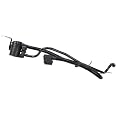
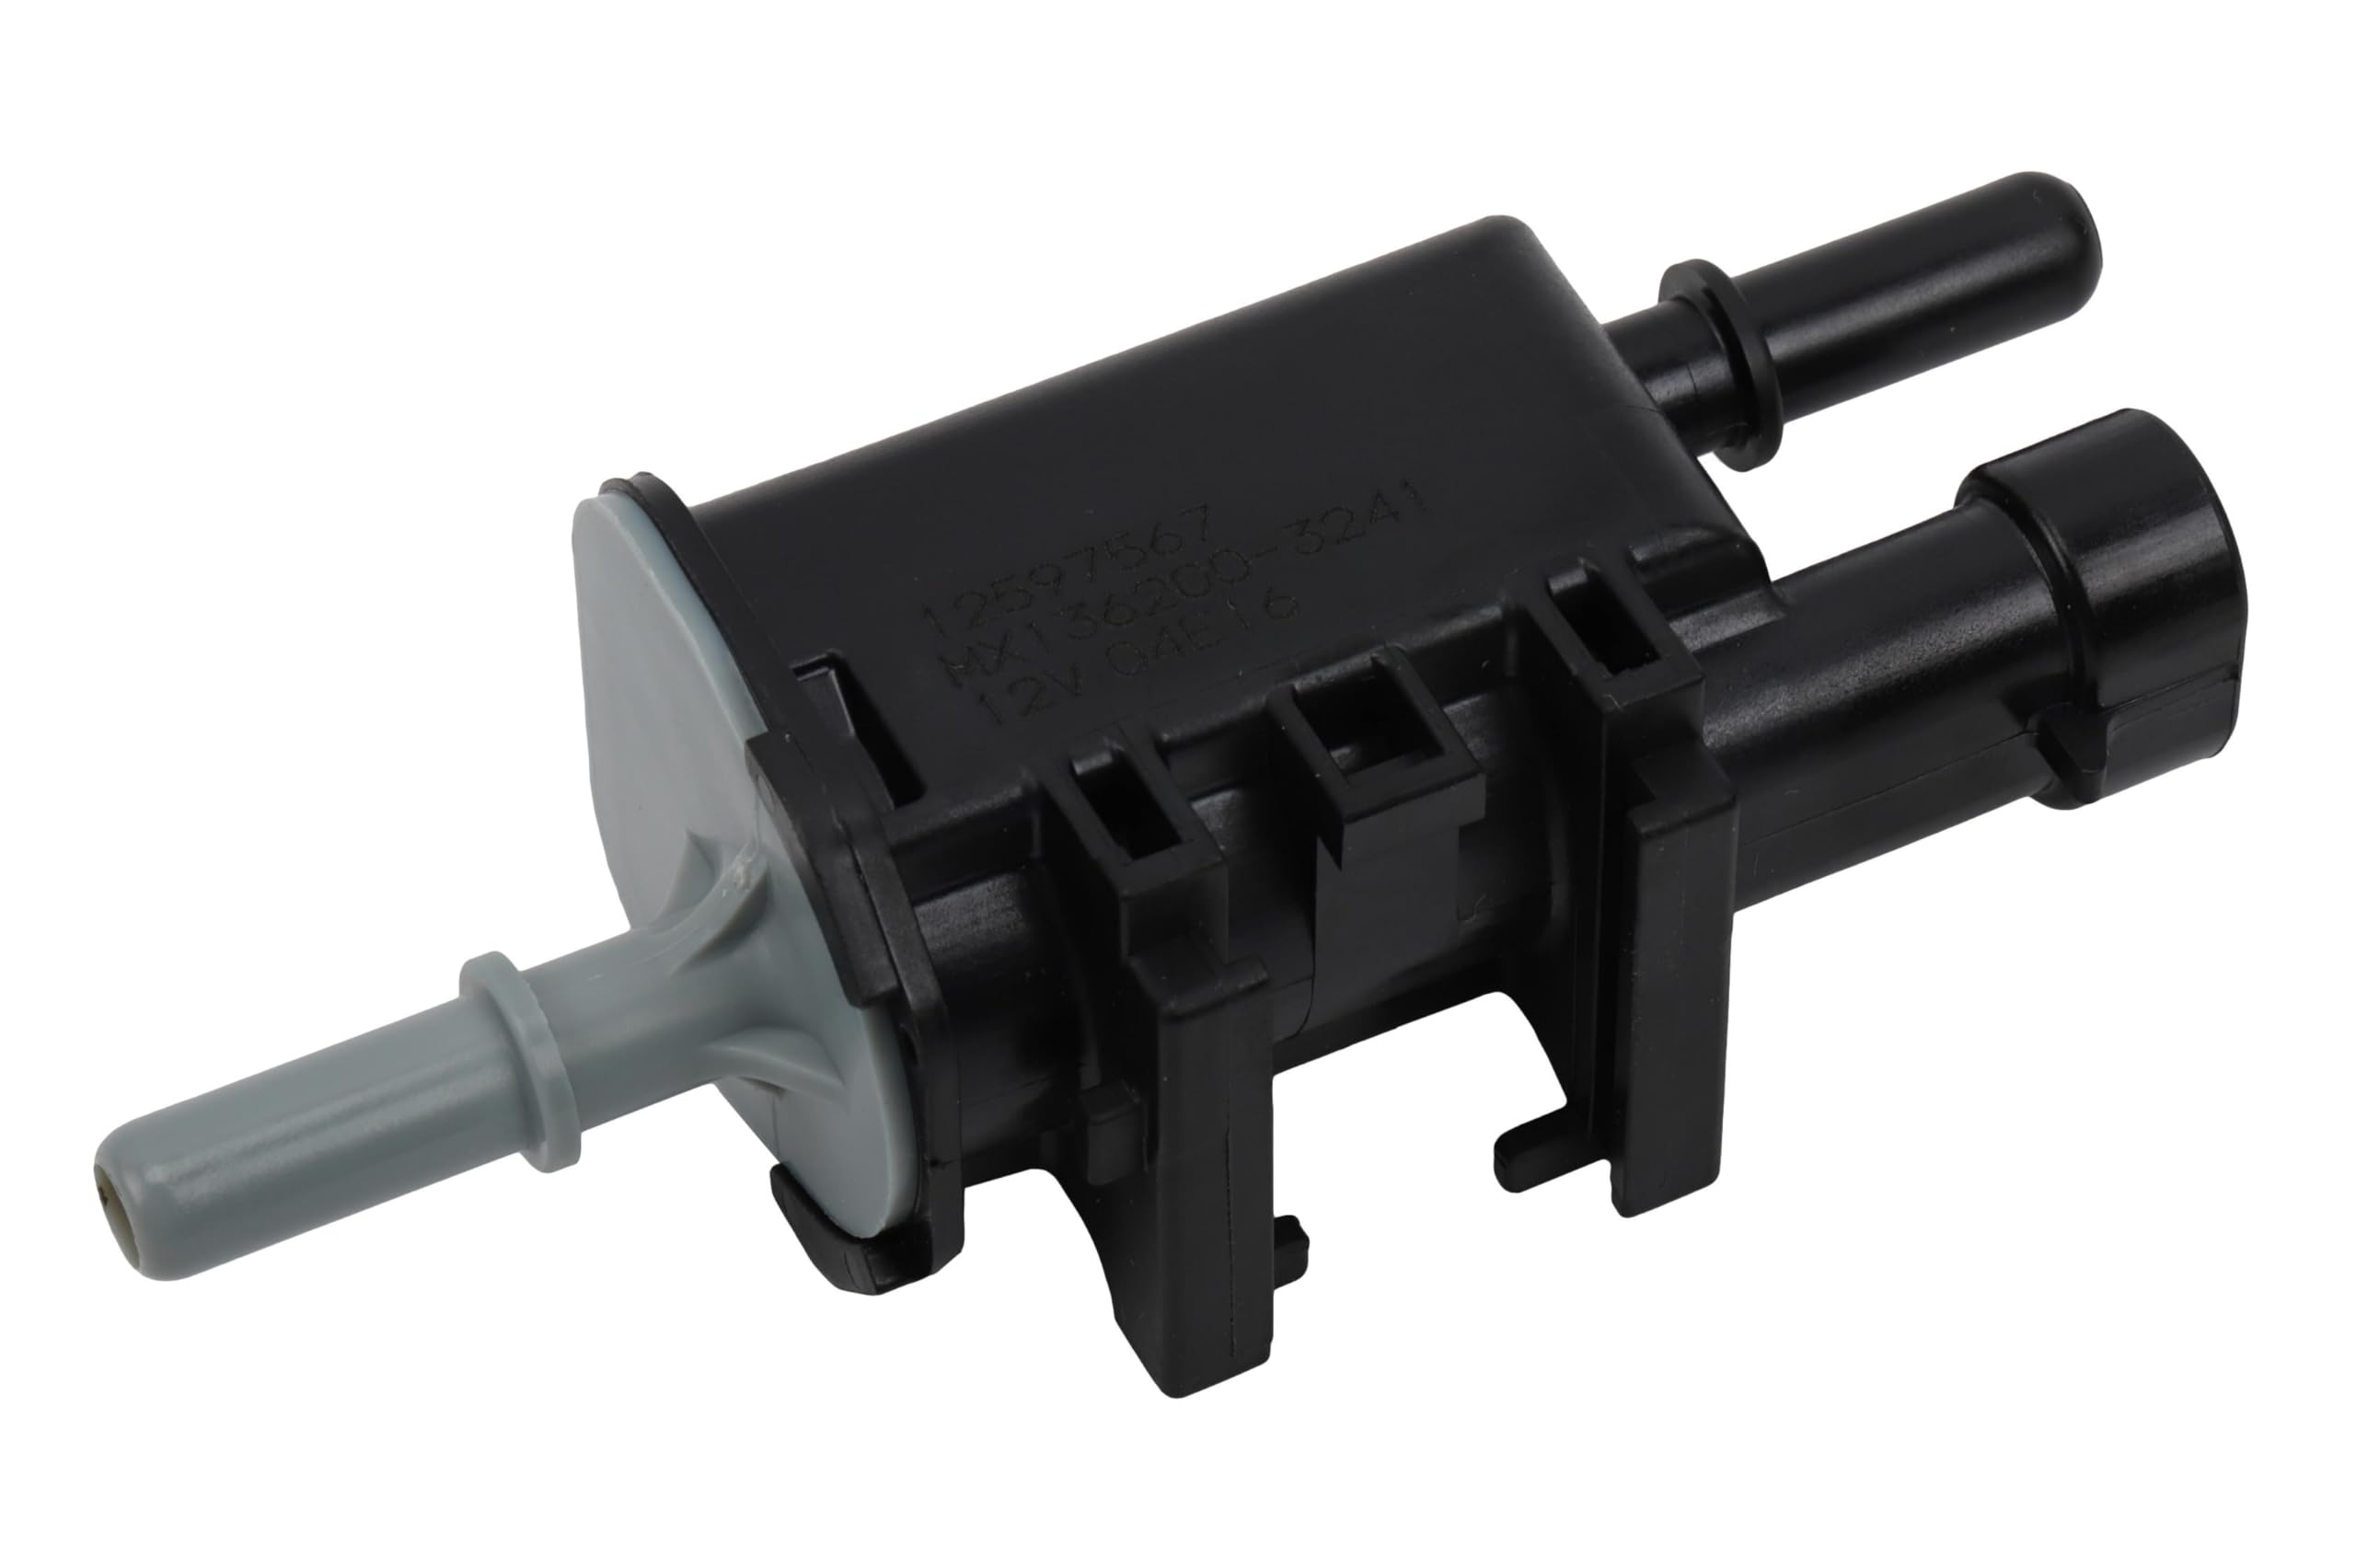
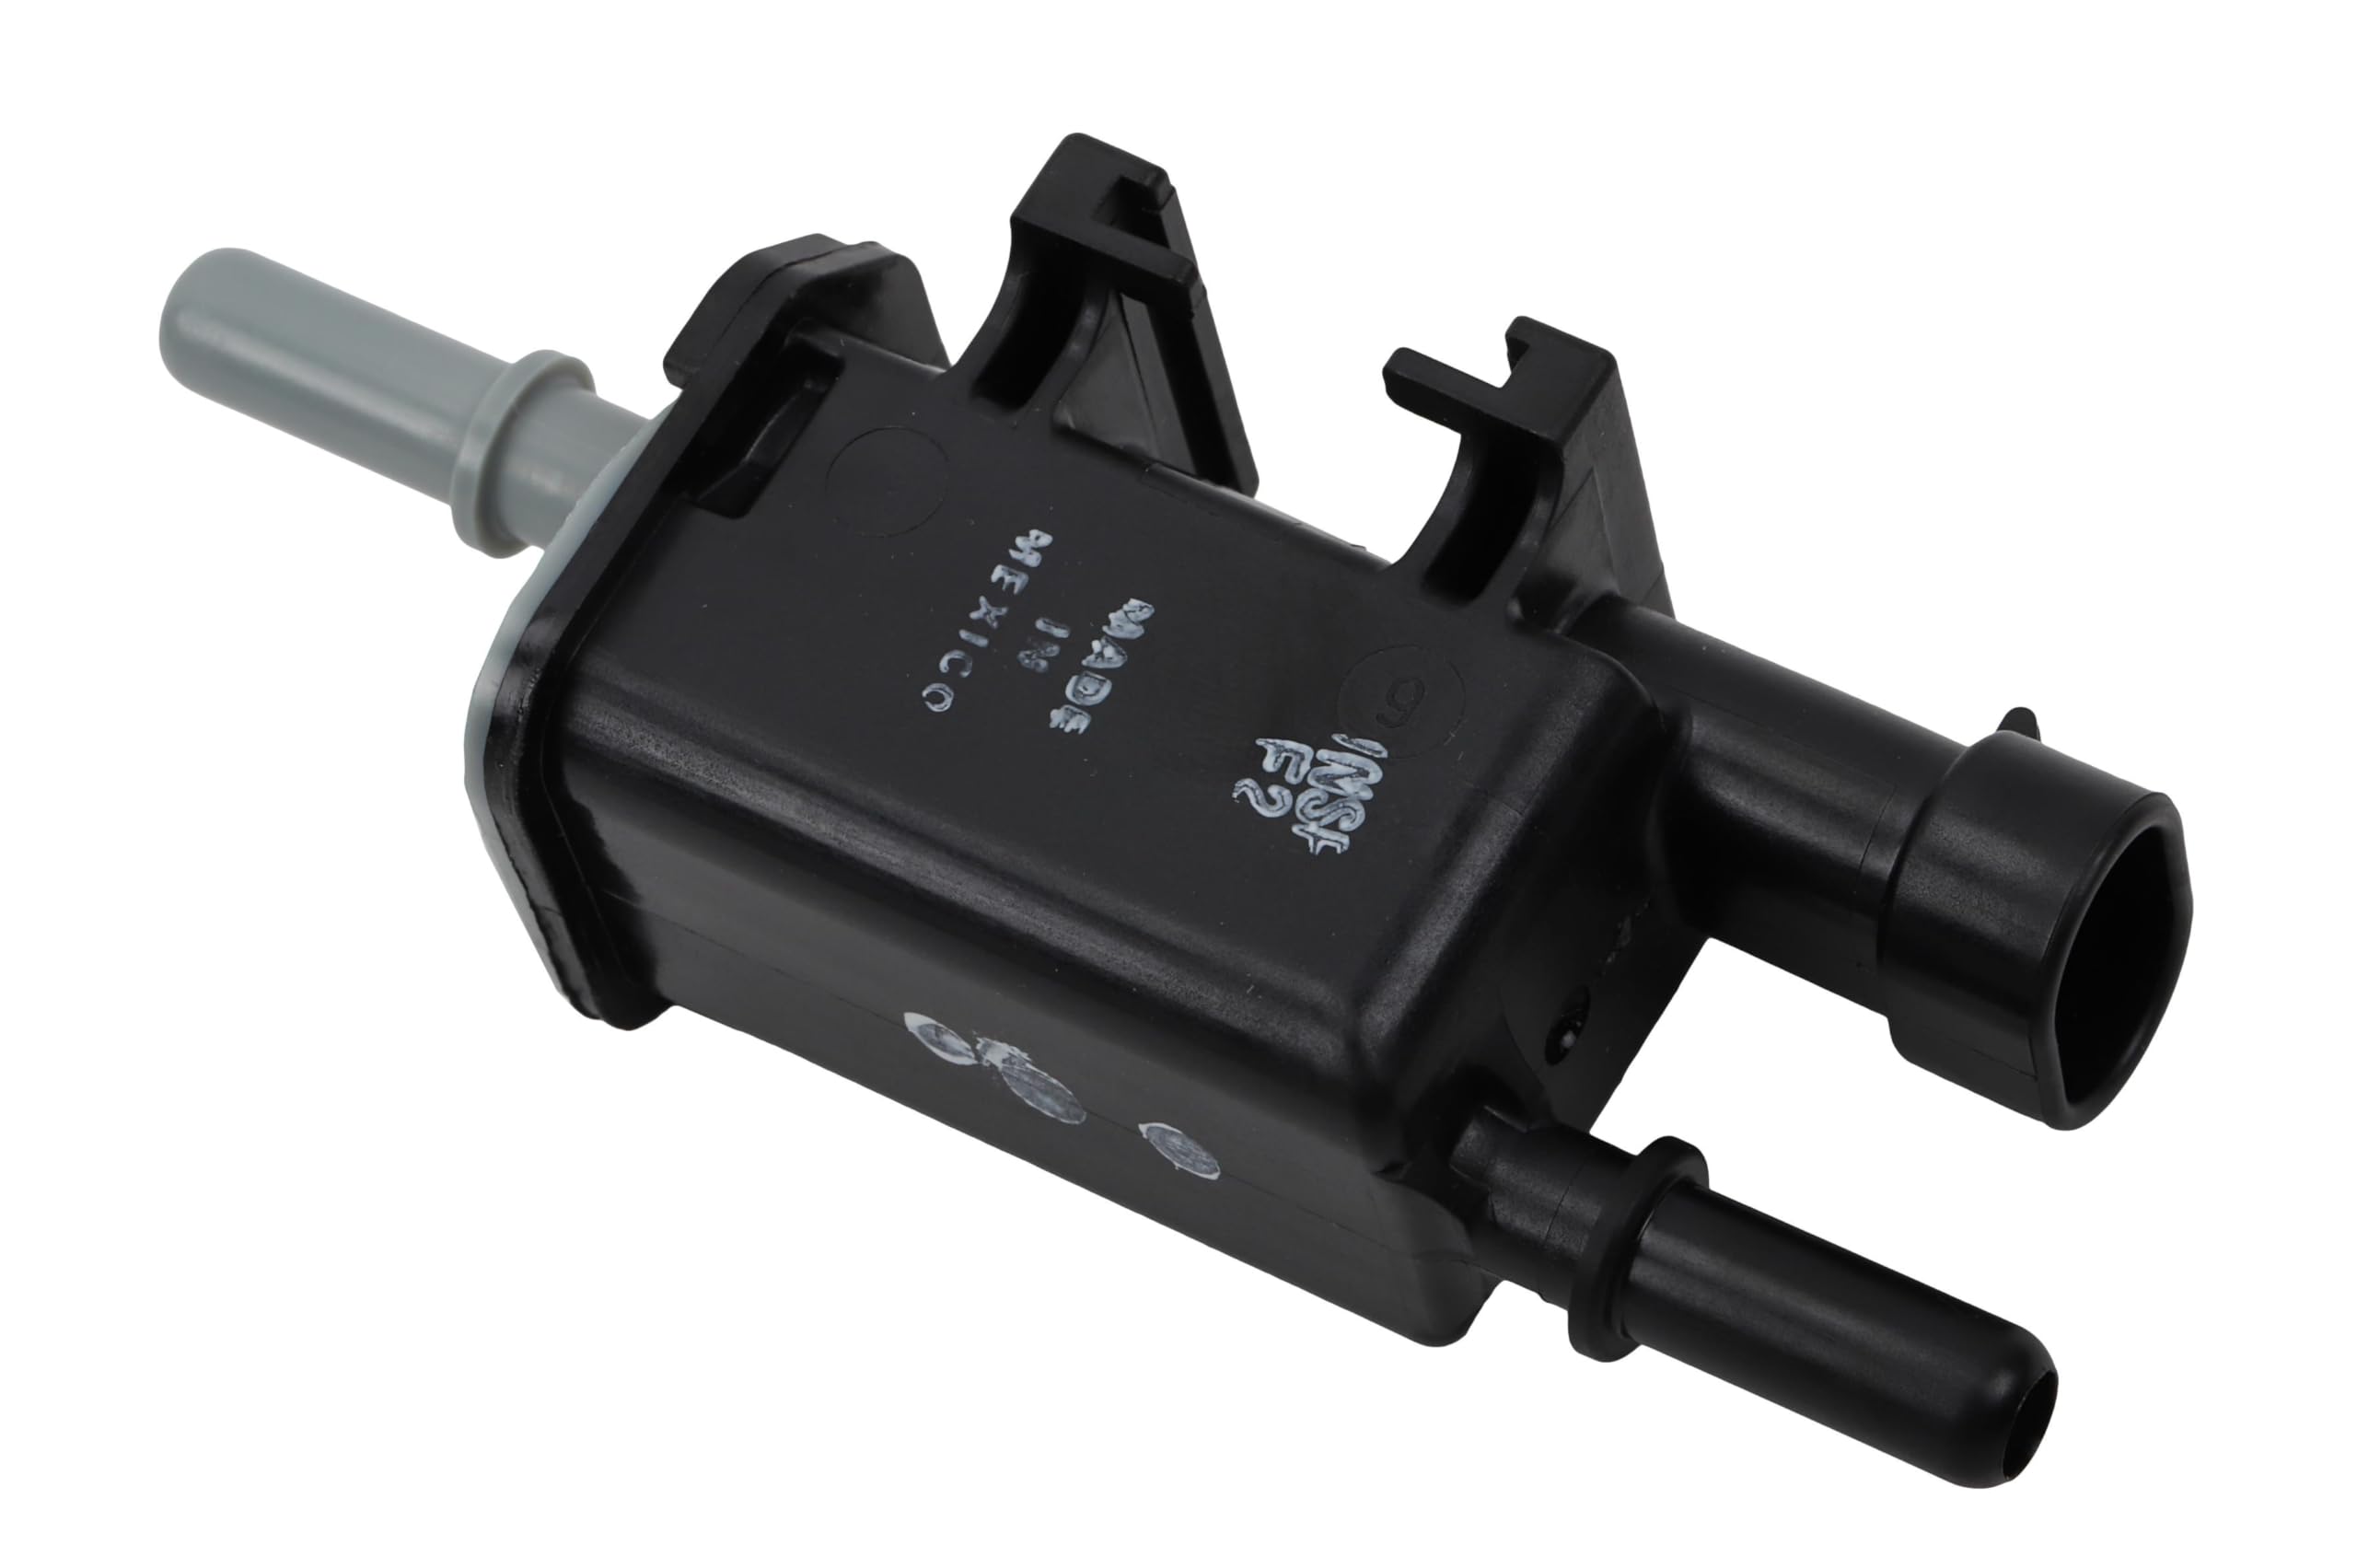
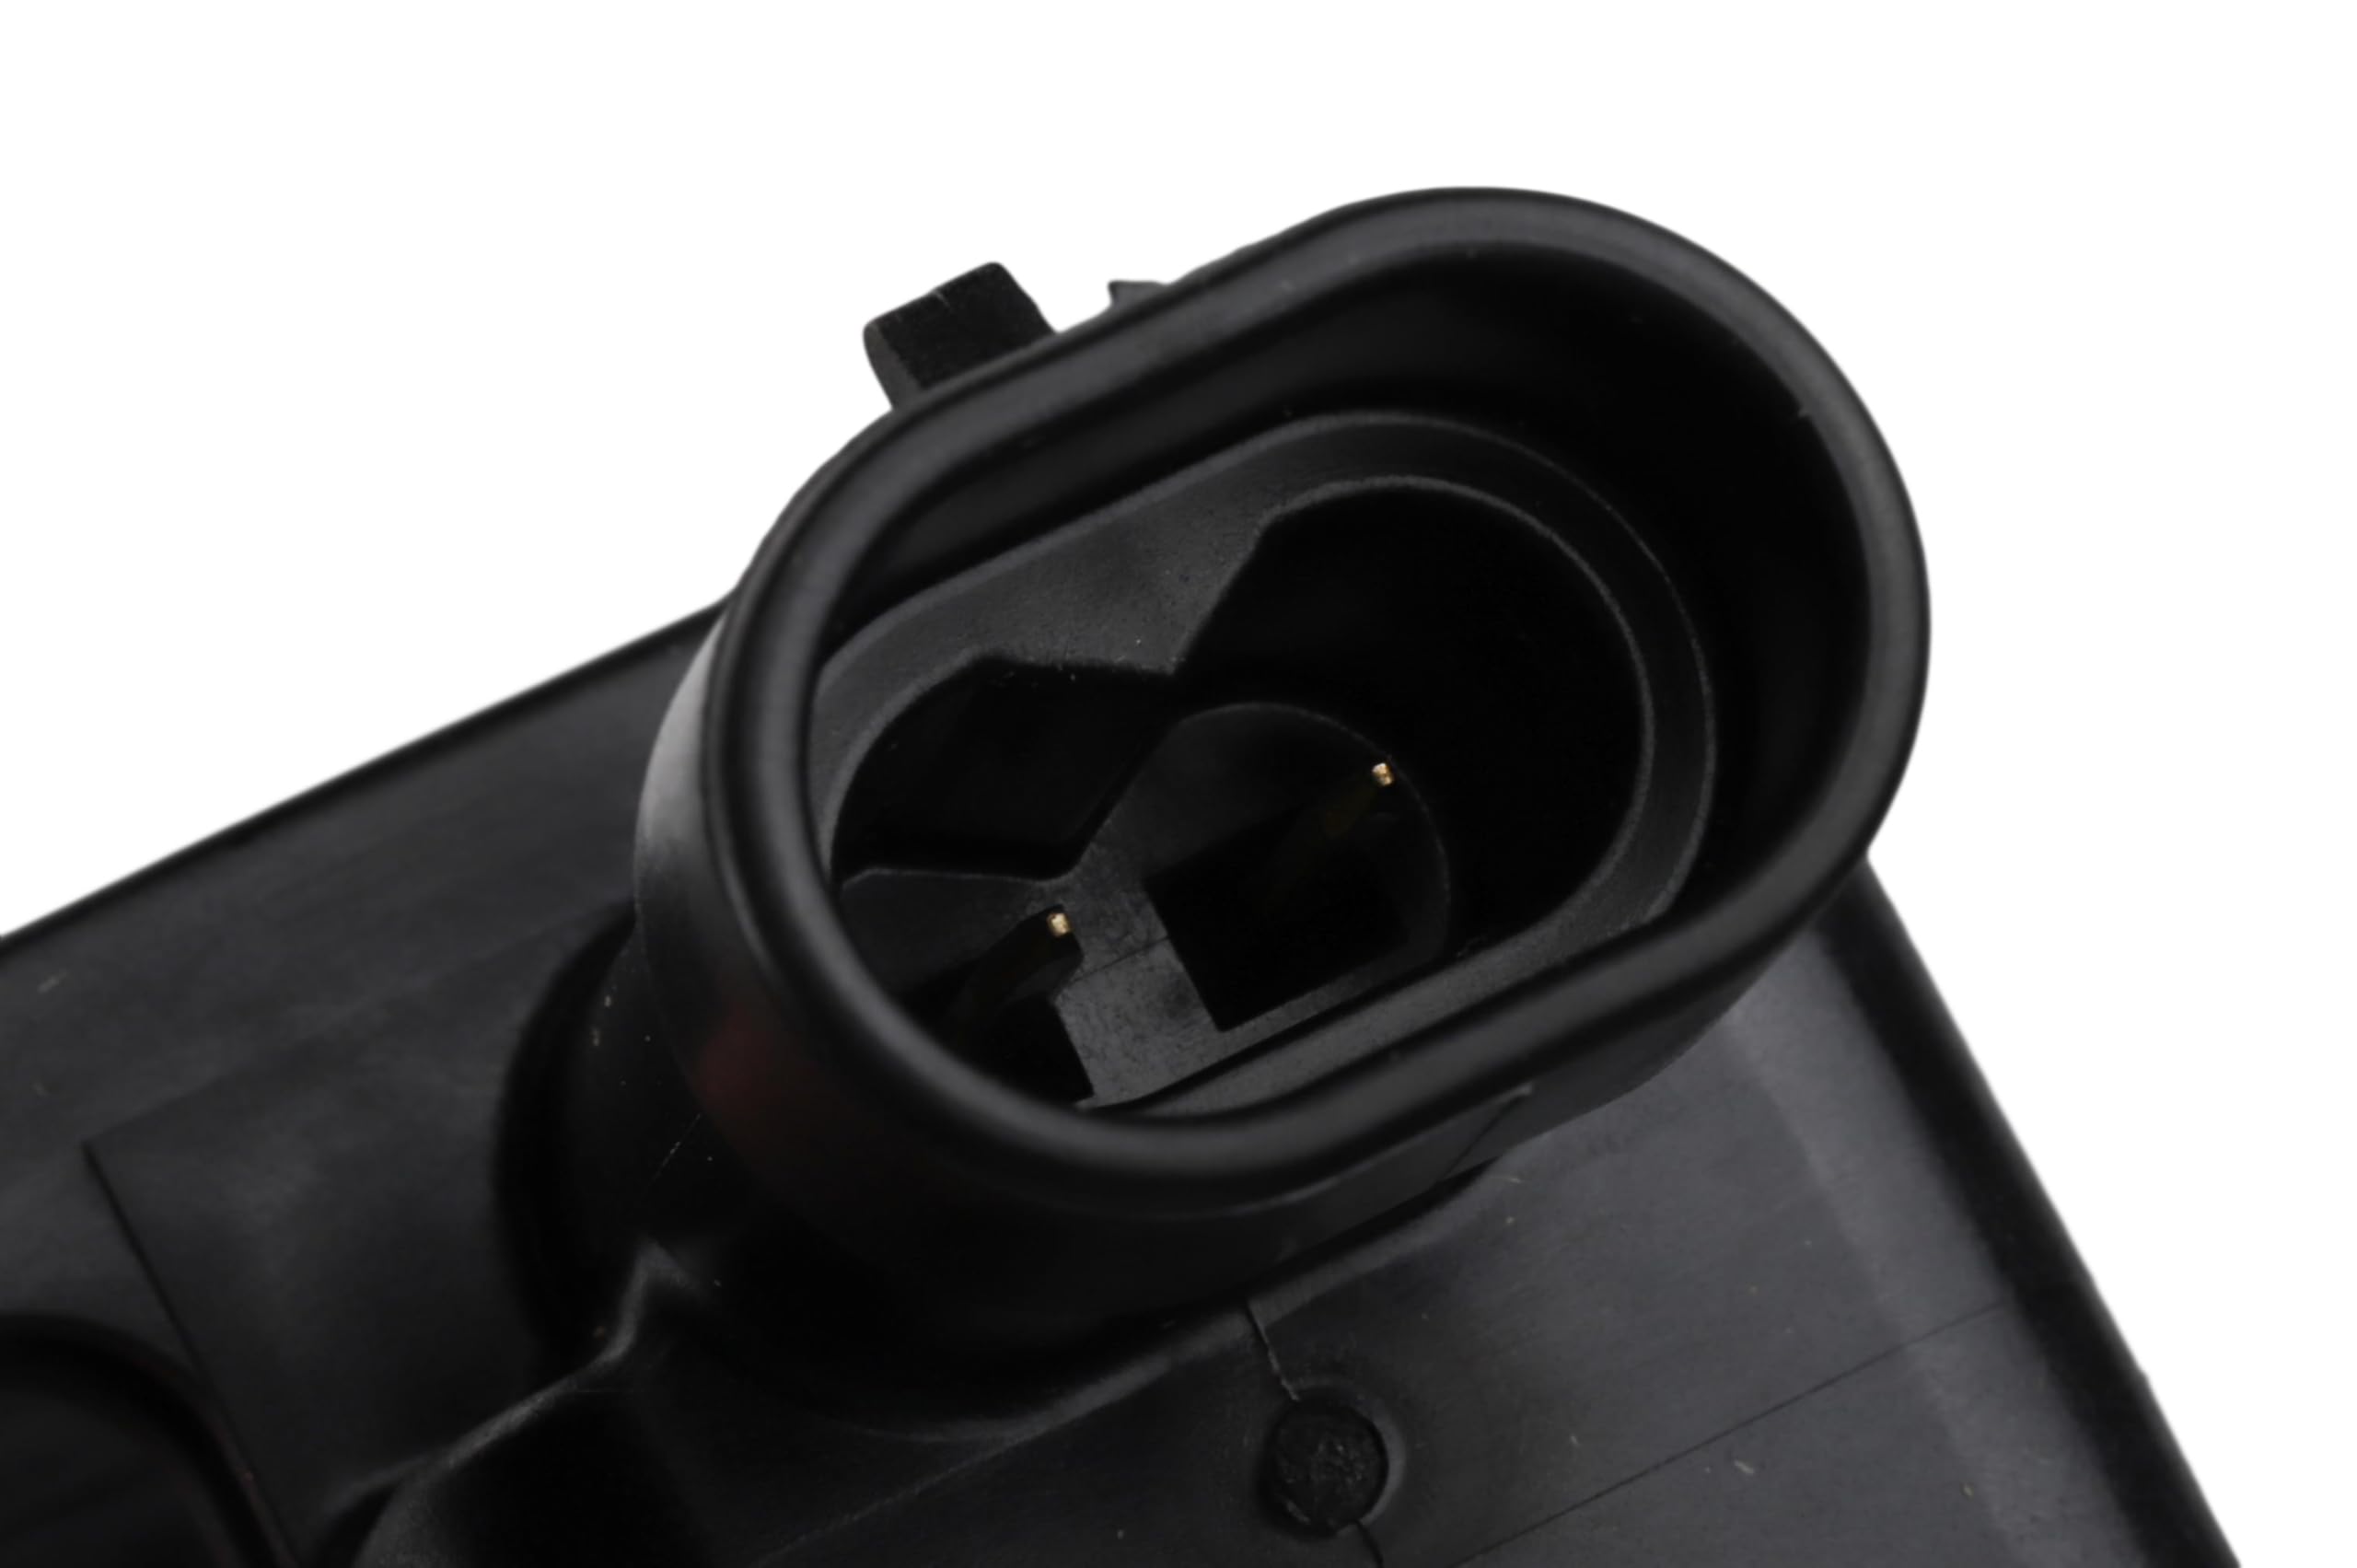
The ACDelco GM Original Equipment 214-1680 Vapor Canister Purge Valve is a GM-recommended replacement part crafted from durable metal with a machined finish. Measuring a compact 2 x 1.6 x 5 inches and weighing just 4 ounces, it features dual ports with flange and barb connections sized for optimal vapor flow. Engineered to meet exact GM OE specifications, it ensures perfect fit, reliable performance, and long-lasting durability for your GM vehicle.
Material | Metal |
Brand | ACDelco |
Item dimensions L x W x H | 2 x 1.6 x 5 inches |
Exterior Finish | Machined |
Inlet Connection Size | 1.6 Inches |
Inlet Connection Type | Flange |
Outlet Connection Type | Barb |
Number of Ports | 2 |
Outlet Connection Size | 1.5 Inches |
Valve Type | purge valve |
Global Trade Identification Number | 00707773012109 |
Manufacturer | ACDelco |
UPC | 707773012109 |
Model | Canister Purge Valve |
Item Weight | 4 ounces |
Product Dimensions | 2 x 1.6 x 5 inches |
Country of Origin | USA |
Item model number | 214-1680 |
Is Discontinued By Manufacturer | No |
Manufacturer Part Number | 214-1680 |
OEM Part Number | 12597567 |
S**S
Double check ur work, works very good
It's fits very just like old on my car, I just had strap it down, due to being to loose and no code worked as other one, very satisfied, just double check ur work after
D**N
Get this ACDelco one. See review for tips on disconnecting the lines going to it.
I bought this to replace a reputable name brand one that was a few bucks cheaper, but only lasted two and a half years. Save yourself the hassle of doing this again in a few years by getting the ACDelco one the first time around. Time will tell, but this is the OEM part so I expect it to last as long as the one that came on the truck. On my 2008 Colorado, the clip holding the line on the front has a tiny black tab that you push SIDEWAYS to make it release. At the intake it has the same type of clip if you want to see how the release works or disconnect the other end. The clip holding the line on the back has push tabs on opposite side that are pushed IN to release, but disconnecting it at the junction point about 6 inches away will free up the part so you can move it into a position that is easier to work with.
D**T
Works Great. Much better than the other generic brands.
Works Great. Much better than the other generic brands. This is the one to get.
T**Y
Works as intended
Worked as intended. Easy to change
D**E
Good part
Easy install
C**S
Right spare
My TB has an gas smell in the engine bay, poor fuel economy and P0455 code. I replace the purge valve solenoid and the problem was solve
G**S
Good part
Finally ordered the right part.. problem solved.
A**N
2007 Tahoe Evap Leak
I was getting large evap leak codes on my 2007 Tahoe LTZ and replacing the gas cap (I used ACDelco GT295 because I liked the yellow) alone didn't work. So I got this part as well as the other parts of the vehicle's evaporation system (ACDelco 19257603 & 20995472). I installed this part first because the other two parts are more involved to replace - you have to take down the spare tire and crawl under the back of the vehicle. I'll let my husband deal with those! I am no mechanic, but I do have some common sense, a step ladder, a flashlight, and a long-but-not-too-wide-at-the-tip flathead screwdriver and those were the tools I used. First, this thing goes in the engine area, so open the hood and take off the plastic cover (pull up then towards the front of the vehicle). Then look for the small green cap on the driver's side (under where the cover was) that green cap is connected to a tube that is connected to this part - should be obvious now exactly where the part is if you already have the replacement in hand (it's a relatively small part). There are 3 connections and a clip - and it's all somewhat inconveniently under a big hose, but don't worry about that too much. Take off the electrical connection first by pushing the clip lever and pulling. Next, the part with the green cap has a clip where you push a ring type thing and it releases its grip and allows you to slide it off. Next, I released the part by slightly bending the metal clip that was holding the part onto the vehicle (this should make sense when looking at it). I carefully slid the part up and off so I could see how the final clip was attached. I carefully used the screwdriver to release the clip (be careful, you might be in trouble ifyou break it!). Then installed the new part by doing all steps in reverse order. Finally, I made sure to push the metal part back in slightly so the part was on securely. This all took me about 20 minutes including stopping to get a ladder, screwdriver, flashlight, etc.Hope this helps someone! I cleared the code with the code reader I also bought on Amazon and drove it to get some gas and so far so good!Oh, also I did end up with a small cut on my finger and got my hands dirty - so use gloves if possible!
Trustpilot
Hace 3 días
Hace 4 días