We remain fully operational. Our teams are working around the clock to ensure your deliveries continue safely.

Descargar la aplicación


Servicios al cliente
Sobre nosotros
Copyright © 2025 Desertcart Holdings Limited
Descargar la aplicación


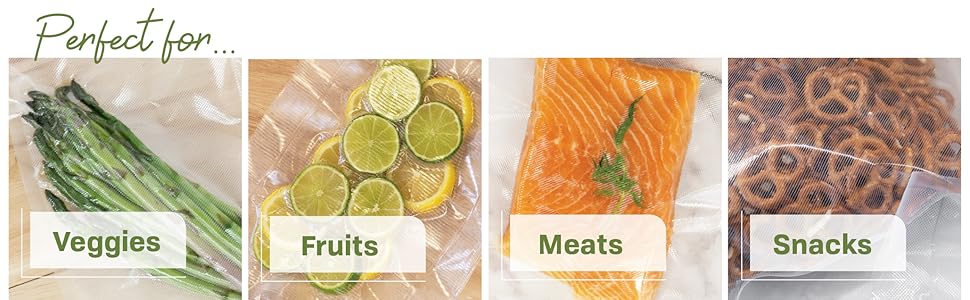
🔒 Seal freshness, save time, and join the zero-waste revolution!
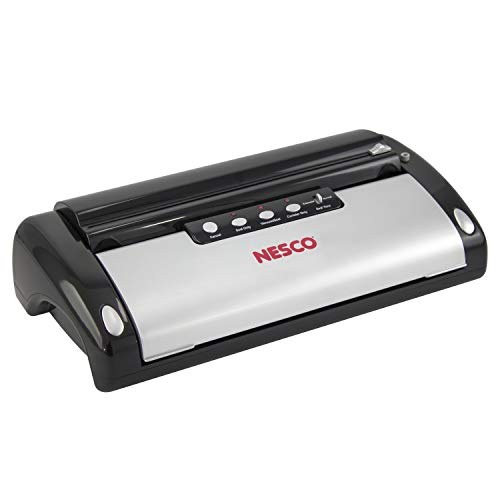
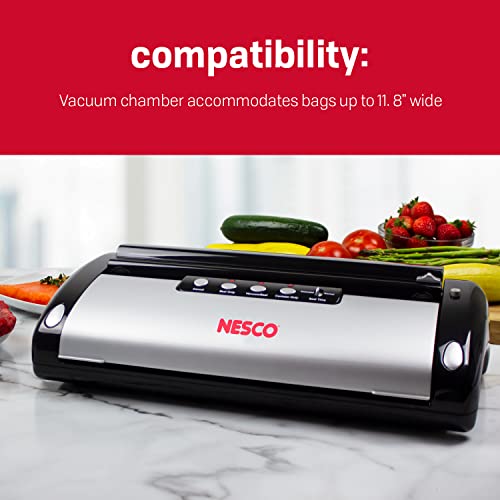
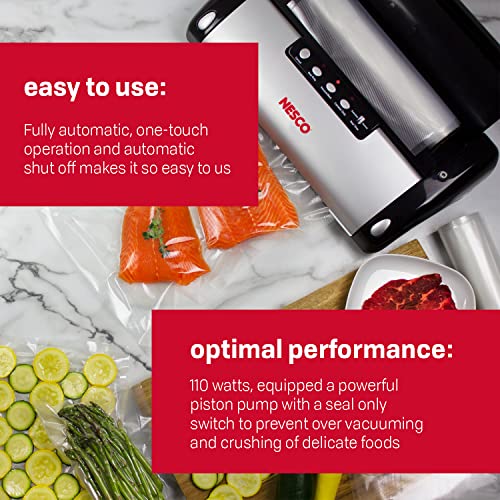
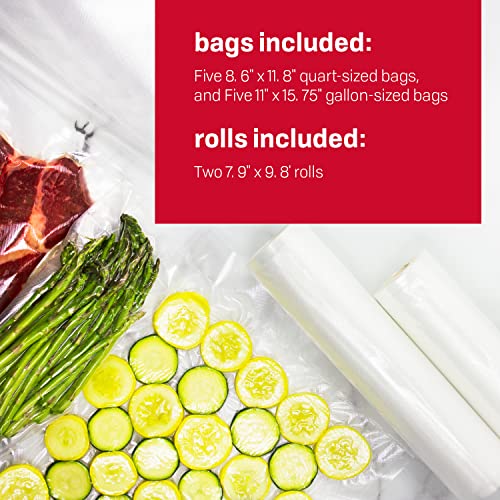
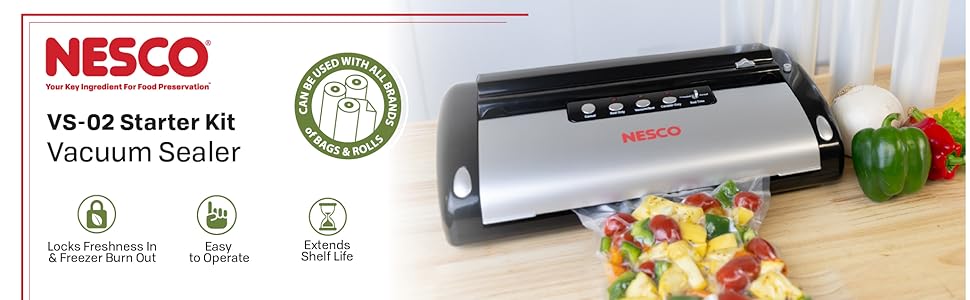
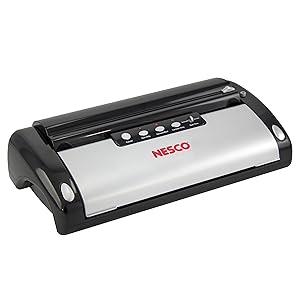
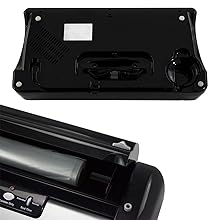
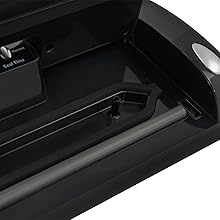
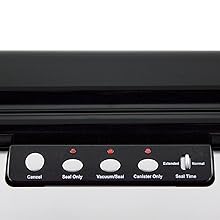
The NESCO VS-02 Food Starter Kit is a sleek, black vacuum sealer featuring a powerful 110-watt piston pump with a seal-only switch to protect delicate foods. It offers fully automatic, one-touch operation with automatic shut-off for ease and safety. Built-in storage and a bag cutter provide custom bag sizing, and the kit includes multiple rolls and bags to get you started. Ideal for meal prep, food preservation, and even protecting non-food items, this compact unit measures 18.25 x 5.25 x 11.5 inches and is designed to reduce waste and extend freshness effortlessly.


| ASIN | B00IUAK39A |
| Best Sellers Rank | #164,576 in Kitchen & Dining ( See Top 100 in Kitchen & Dining ) #612 in Vacuum Sealers |
| Brand | NESCO |
| Color | Black |
| Customer Reviews | 4.3 4.3 out of 5 stars (2,342) |
| Date First Available | February 28, 2014 |
| Department | Electronics |
| Global Trade Identification Number | 00078262009475 |
| Is Discontinued By Manufacturer | No |
| Item Weight | 7 pounds |
| Item model number | VS-02 |
| Manufacturer | NESCO |
| Material | Plastic |
| Operation Mode | Automatic |
| Power Source | Corded Electric |
| Product Dimensions | 18.25"L x 5.25"W x 11.5"H |
| UPC | 782386077530 809385646304 898029639413 782620094750 782560427380 807030475552 791769532559 078262009475 851975725760 636501022441 640808459763 765042448981 804892145456 863189860175 809186251578 782386462558 634154089927 806296569845 732233496465 |
| Voltage | 120 Volts |
| Wattage | 130 watts |
S**S
Nesco VS-02 is a great deal. imho
Nesco VS-02 is a great deal. imho :-) I purchased the package that includes 2 rolls of 11 inch wide rolls. It also comes with extra small bags of a few different sizes which was a nice surprise to me. I think the deal that includes the 2 rolls of 11 inch wide is the best value. I have only tested the machine and will update if anything changes. I didn't even read the instructions which I should have but it was so easy I didn't need to. I practiced sealing the same bag that I cut to a short length about 3 times just to learn how to seal and then I placed a small object in the bag and put the open end into the machine and pressed the vacuum seal button. It works perfectly and then I practiced sealing the end again for a double seal. The retail box says it will crush a can and that you can use any brand of vacuum bag. It is a nice size and about 3 times less money than the one I was looking at before this one. I recommend it as a quality product that has a place to store the rolls in the machine and has a cutter built in.
K**C
Reliable machine, no bag failures
Having had a vacuum sealer in the past which we ended up selling because we just didn't use it that much, we had some reservations about buying another. However, we're retired now, and tend to do weekly shopping (including Costco) so we decided to give this a try again. We're very happy with our purchase so far. The NESCO is easy to use, and works flawlessly. We have had zero bag failures. Admittedly, we do quickly freeze moist items prior to bagging. However, we've also been successful with fresh salmon without freezing first, with no juice traveling toward the seal. We've had good results with chicken, ground meats, salmon, previously frozen (in a silicone cupcake mold so we just pop them out and put them in the bags) portions of soup, stock, coconut milk, sauces, etc. Instead of shopping the store, we shop the freezer. I know some have complained about the wait time recommended between uses. This hasn't been an issue for us, despite at times doing an assembly line process. The sealer strip gets very hot when it seals a bag, and you just need to give it time to cool off a bit before placing another bag in the machine, or else it will start melting it before you have time to vacuum the air out. This is true with ALL vacuum bag machines. I would recommend buying premade bags as they eliminate the bother of trying to figure out how big to make your bag, and having to seal both ends, which takes time. We've had good luck with Weston Products 30-0107-K Weston Brands Vacuum Sealer Bags, Variety Pack, Clear .
G**N
Works well...with one caveat
Arrived in the mail yesterday, so delivery service was fast. This sealer got the best review/rating on WireCutter. We've been using it today to seal and freeze cut unfrozen peaches and other already frozen items. It works simply and well with the already frozen items. It's VERY hit or miss with the unfrozen peaches. All to say, you're just not going to have lots of success working with very moist product. (That's the one caveat.) Most books/websites recommend "par-freezing" fruits and berries anyway, so this isn't going to be a big problem for us. I imagine that fresh meat, etc. would be a bit easier (less moisture) but we haven't tried that yet. Overall, the sealer is easy to use. Getting the bag all nice and flat along the sealer bar can be a bit of a hassle but I'd bet that's true of most sealers. The WireCutter article implied that this machine has something of a "pulse" function but we haven't found that or figured it out. It does have a "Cancel", which is handy and the article indicated that other sealers don't have. As I mentioned, today is our first use so I can't speak to seal sustainability. Overall, the price is right (less than the WireCutter article indicated that it would be) and it's done the job we wanted to get done. I'd have given it five solid stars if the moisture thing wasn't an issue and I gather that's not unique to this product. I'm guessing that anything that pulls a vacuum is going to pull moisture, so this is probably an issue, to one extent or another, with any non-commercial sealer.
A**A
Nice product. Works as per specification mentioned. Little costly, but then you don't have much options.
F**A
me sorprendio la calidad del sellado al vacío, escelente producto 100% recomendado
L**S
Excelente selladora
A**R
It worked even with non standard accessories. Since it came without the hose accessory for Mason jars, I purchased one from a local store, and it worked perfectly.
A**O
El producto es muy bueno y práctico , pero no funciono bien no sellaba bien al vacío todas las bolsas y la cortadora no funcionaba. Ya no intente con pedir otra mejor pedí el reembolso
Trustpilot
Hace 2 semanas
Hace 1 mes