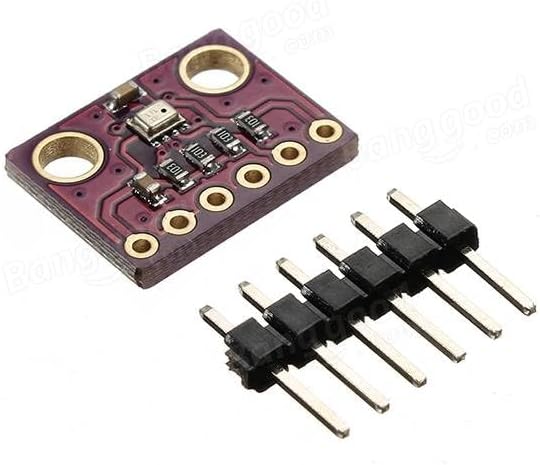

HiLetgo BME280 3.3V Atmospheric Pressure Sensor GY-BME280-3.3 Temperature Humidity Sensor Module for Arduino
Product ID: 325423799
⚡Ultra-low power consumption
📶High-speed I2C (3.4 MHz) & SPI (10 MHz)
🌡️Wide temperature range -40 to +85°C
Buy anything from 5,000+ international stores. One checkout price. No surprise fees. Join 2M+ shoppers on Desertcart.
Desertcart purchases this item on your behalf and handles shipping, customs, and support to Bolivia.
🌍 Elevate your projects with next-gen environmental sensing!
The HiLetgo BME280 is a cutting-edge atmospheric sensor module designed for Arduino enthusiasts and professionals alike. It delivers precise temperature, humidity, and barometric pressure readings with ±1 hPa and ±1°C accuracy. Featuring ultra-low power consumption and flexible I2C/SPI interfaces, this compact sensor is ideal for smart home, weather stations, and IoT applications where reliable environmental data is a must-have.
| Manufacturer | HiLetgo |
| Brand | HiLetgo |
| Package Dimensions | 7.59 x 7.39 x 1.6 cm; 18 g |
| Item model number | 3-01-1231-A |
| Manufacturer Part Number | 3-01-1231-A |
| Item Weight | 18 g |
R**R
Worked just as expected, with solid accurate readings.
Used this in a Meshtastic node, and the module was easy to use. No setup or software needed, simply wired it to the project board and it started working right away.
H**U
とても良かったです。
対応、配送、梱包とても良かったです。
J**E
Great, except for the labels.
This seems to be a good working sensor. I needed one for a project. The real one will be manufactured with the BME on the board. But I need to test to see if there are any conflicts wiring all the parts together. Modules like this are perfect for that. I don't have to build the whole thing, I can just plug in this module, that already has whatever resistors, capacitors, and diodes are required. The labeling is troublesome. It requires a bit too much deductive reasoning for SPI mode. Here's what the labels are. The left column is the BME280 label. The right is what it should go to. VCC = 3.3v GND = GND SCL = CLK/SCK SDA = MOSI/SDI/DIN CSB = CS SDO = MISO/SDO/DOUT In the screenshot, I have it running in the Arduino IDE with Adafruit Library's example "BME280test". I'm using SPI mode, because my project requires it. I soldered the header on upside down, so the labels would be up. I figured this would be a pain, so I didn't want to have to flip it while figuring out the pin assignments. Normally, you'd want the chip with as much exposure to the environment as possible. It would have been nice if they had just labeled the top side, but what's done is done. Once you get it wired right, it works perfectly with the example code. I don't have long-term experience with this module yet, but it will be running constantly while developing the rest of the project. If it dies prematurely, I'll come back and lower the score.
K**N
Works but lacks accuracy
On my sample the pressure reading is the most accurate, being about .11 inches Hg too low. The temperature sensor runs about 3(F) degrees too high, and the humidity reading is about 7% too low. As a comparison, the DHT11 that I tested was more accurate in both temperature and humidity. This seems to be a common issue for these sensors and I used calibration values in my sketch to compensate. This product uses I2C address 0x76 and NOT 0x77 (the default Adafruit Arduino value). This can be overcome by changing the if (! bme.begin()) statement in your sketch to if (! bme.begin(0x76))
S**E
Temp, humidity, and pressure. Just what my RV needed over the winter.
This is a no brainer. Couple this with an ESP32, and you have everything you need to monitor the environment inside a covered RV over the winter. Since I upgraded to a larger trailer this summer, I was no longer able to winter it in my shop (too tall). So I did what most people do and put a cover over it, but was concerned about the temp/humidity inside over the long winter. Now I have continuous readings of temp/humidity/dew point, so my home automation server will fire up the small heater when conditions warrant. Cheaper than building a new shop!!
Trustpilot
1 month ago
1 month ago