


💫 Illuminate your lifestyle with crystal-clear luxury!
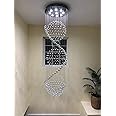
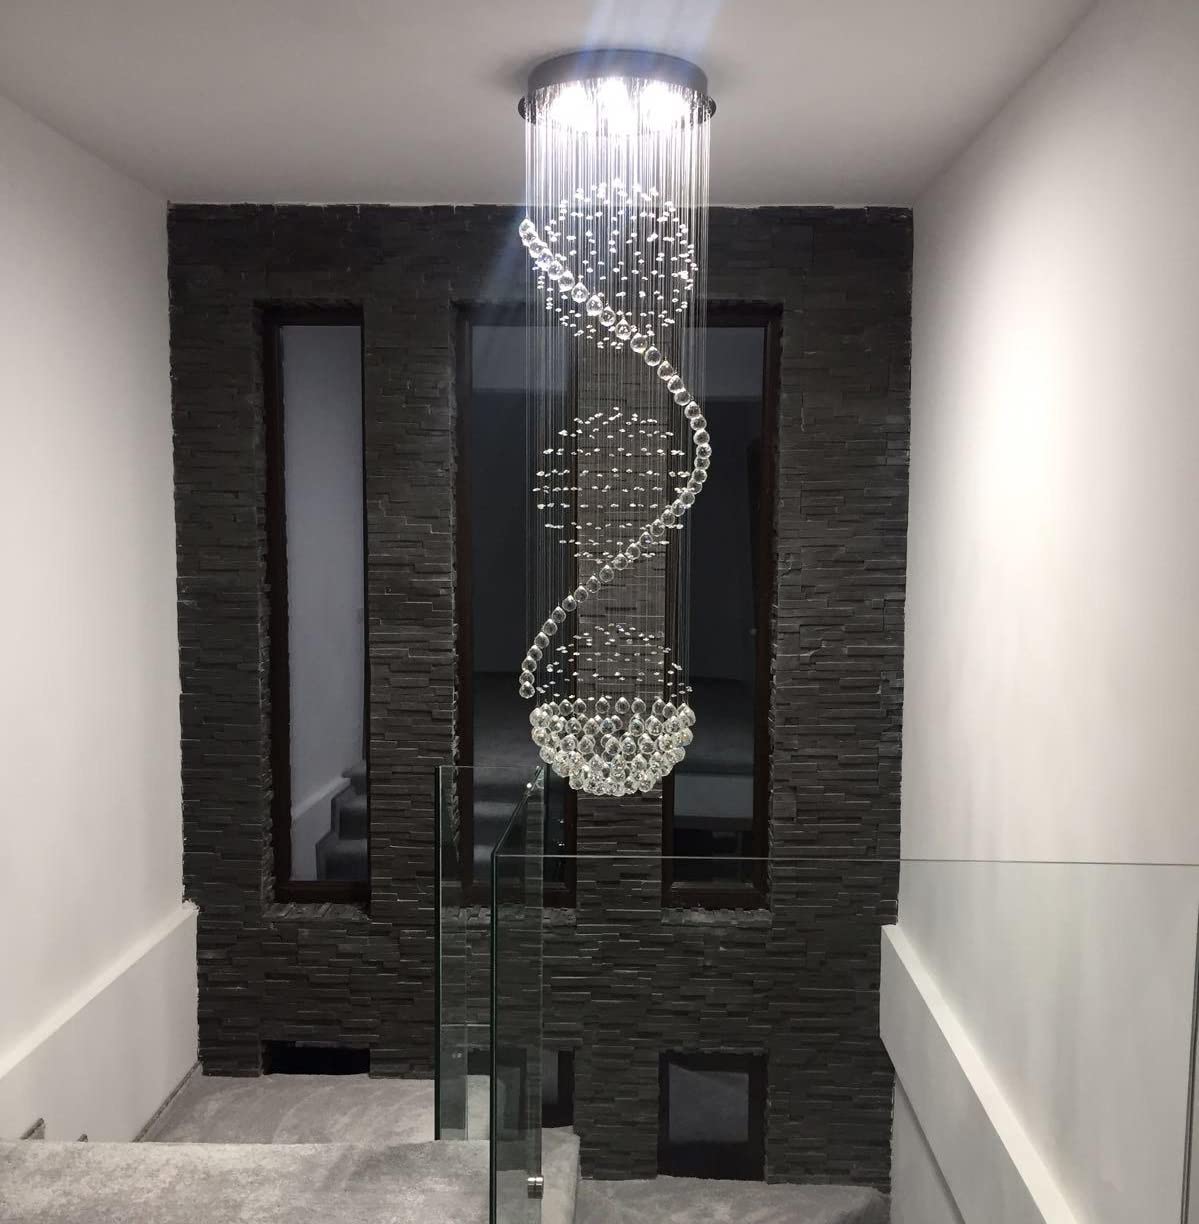
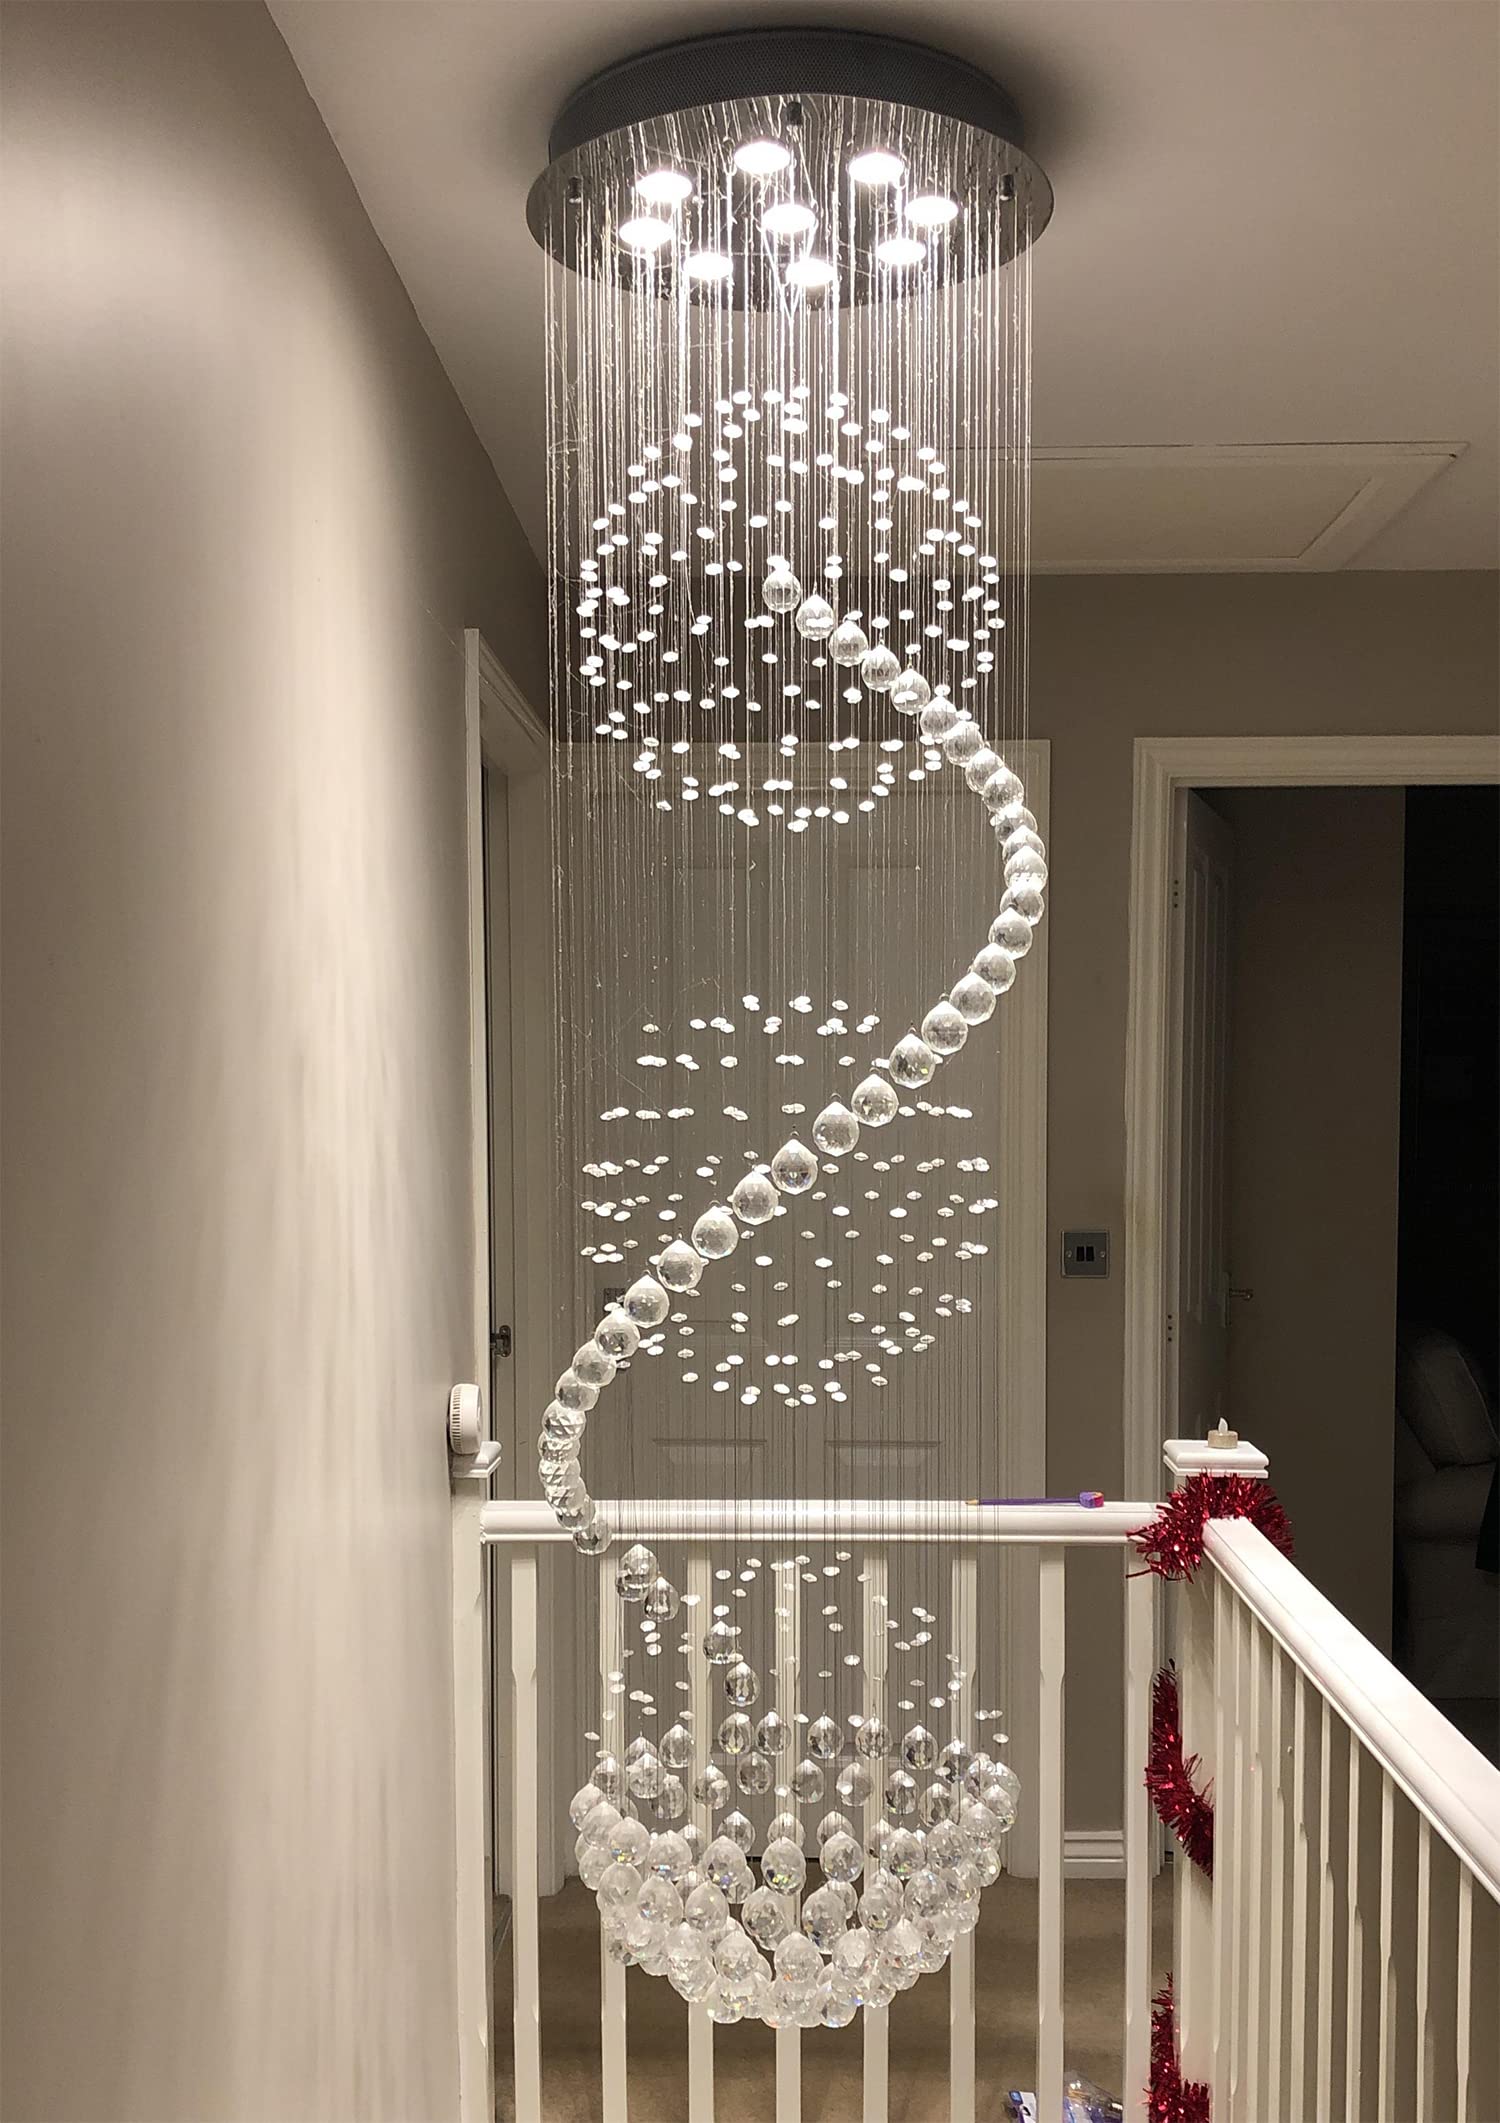
The Dst Spiral Sphere Crystal Chandelier is a stunning flush mount pendant light featuring 138 genuine crystal droplets and 9 GU10 bulb sockets compatible with dimmable and energy-efficient bulbs. Measuring 50cm in diameter and 180cm in height, it’s designed for high ceilings and grand spaces. Crafted from mirror-polished stainless steel and transparent crystals, this modern, elegant fixture adds a radiant, luxurious ambiance to living rooms, foyers, hotels, and more.
| Brand | Dst |
| Manufacturer | Dst |
| Product Dimensions | 50 x 180 x 50 cm; 17 kg |
| Item model number | CE Listed |
| Part Number | CE Listed |
| Number of Items | 1 |
| Style | Modern |
| Collection | crystal chandelier |
| Colour | Transparent |
| Shape | spherical |
| Material | Stainless Steel, Crystal |
| Finish types | Polished |
| Number of Lights | 9 |
| Included Components | Crystal shade, mounting accessories |
| Voltage | 230 Volts |
| Specific Uses | Indoor use only |
| Special features | Modern Romantic Elegant Crystal Chandelier Fixture |
| Shade Colour | Clear |
| Shade Material | Crystal |
| Light Direction | LED |
| Plug Format | gu10 |
| Power and Plug Description: | Hardwired |
| Switch Style | Rotary |
| Switch Installation Type | flush |
| Batteries included? | No |
| Batteries Required? | No |
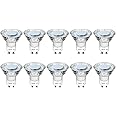
| Type of Bulb | LED |
| Cap Type | GU10 |
| Luminous Flux | 4050 lumen |
| Wattage | 50 watts |
| Wattage | 40 Watts |
| Item Weight | 17 kg |
| Guaranteed software updates until | unknown |
K**E
Worth the effort
Stunnng once finished but does need time & patience.There are 2 parts to the light before hanging the wires/beads - the bracket that fits to the ceiling, this needs extra support in the ceiling/attic. I fitted a piece of plywood between joists in the attic and dropped 4 x 8mm bolts down. The second part is the plate with holes precut for the bulbs and wire loops to hang the wires/beads.....be very very careful as some of the holes cut for the bulbs have RAZOR sharp edges. 2 of us sliced our fingers.Once the support bracket and plate are fitted you hang the glass beads best to stast from the middle and work your way to the outside.Unwrap a number in advance and get someone to hand them up. Does take a long time but do it bits at a time.Instructions were fine. Good diagram that shows where each of the numbered beads should hang.Fitted with ice white bulbs, suspect warm white may be better, they can be changed.
A**R
Excellent value for money and excellent customer service
I bought this chandelier for my new house . It was not really easy to put on first and as we tried it really hard and it did tangle at the end. I contacted the customer service and they were so kind to replace it with the new one and they send it in two days. We followed the instructions from one of the advisors and was able to install the new one properly. Thankyou so much for replacing it it looks fabulous and everyone likes it .
J**S
Stunning Grand look. Good product.
Very good product.. Worth every penny.. Need to have a basic diy mindset to complete the installation. Ensure you reinforced the soft ceiling with wooden board of reasonable thickness to allow the fixing screws and bolt to get tightened properly. Total 10kg weight is not safe to be hung without reinforcement. I have used 7 x 4.6W non-dimmable Phillips GU10 warm white. Bright enough and looks brilliant. Cool white may be better but I had to go with the rest of my home lighting tone. Hanging the crystals took nearly 4hrs including 30mins break which was much needed for the neck strain looking up standing on a ladder. Hang the crystals without the GU10 bulbs. Fit the bulbs at the end. When hanging the crystals some that go across bulb hole have two hooks so make sure you use both hooks and the right ones or else the pattern will be affected and you may end up missing some hanging poitns. Start from the inner centre (no. 70) and go outwards. Once it is all done and you switch it on you will be Wowed... If you have the time and patience you can do it yourself. Don't hurry.. The final result justifies the hastle..
J**K
Light fitting
Wow wow wow. This is so beautiful. Building it was a pain and the instructions need more details. I should have started in the middle and worked out. When you turn it to hang it, it tangles up. The best way to untangle is to take the balls off and untangle the string.
C**E
Light
It’s hard work putting it together may have been about four hours, but well worth it am totally delighted with the results. Ideal for stair case not sure it would fit anywhere else
A**R
Take your time and get used to the layout of the numbered bags
A fantastic looking light for a fraction of the usual cost, the quality is great and would fit in most homes, I would definitely recommend adding timber supports between beams as it is heavy (approx 50kg) , the only issue I found was two of the numbered bags were mixed up but easy to rectify, I would highly recommend buying this light as it does look like some I have have seen north of 1k, very surprised at the overall quality and will be buying again from this company, a well deserved 5 stars 😁
G**E
Not impressed. Flimsy, and out of alignment
Looks good in the pics. I wonder how they made it look good.Quality is cheap and flimsy, and some of the string holders are out of alignment. I struggled for an hour trying to get the right alignment and it's still not 100%.The holding pins are thin aluminium clips bent backwards, I can't use explicit words here, but you can imagine what I mean.Definitely not worth the money.
Z**W
Beautiful but not easy.
Beautiful light but as others have indicated, not for the feint hearted when it comes to assembly. The tips I can share are as follows: if you have access to a printer/ copier that allows you to enlarge images, print yourself off a much bigger copy of the pattern instructions. Secondly ensure you are anchoring the base unit to rafters/ joists as the installation is heavy once completed (10kg +). Create a template showing the holes for ceiling fixing by drawing around a light base to help to pre drill holes. Lastly ( and this is the one that helped us the most) invest in purchasing enough lobster claw jewellery clasps to attach to the crystal string end rings. This will save you trying to fiddle around trying to find the end of each ring and fitting it into a very small hoop and instead just just using the clasp to attach without fuss. I know it’s a little more expense ( but not much) and trust me, you won’t regret it as it will save you a lot of time and stress! If you Persevere and get the pattern right, your efforts are rewarded as it’s a beautiful light but factor in plenty of time and patience. Good luck.
Trustpilot
1 month ago
1 week ago