

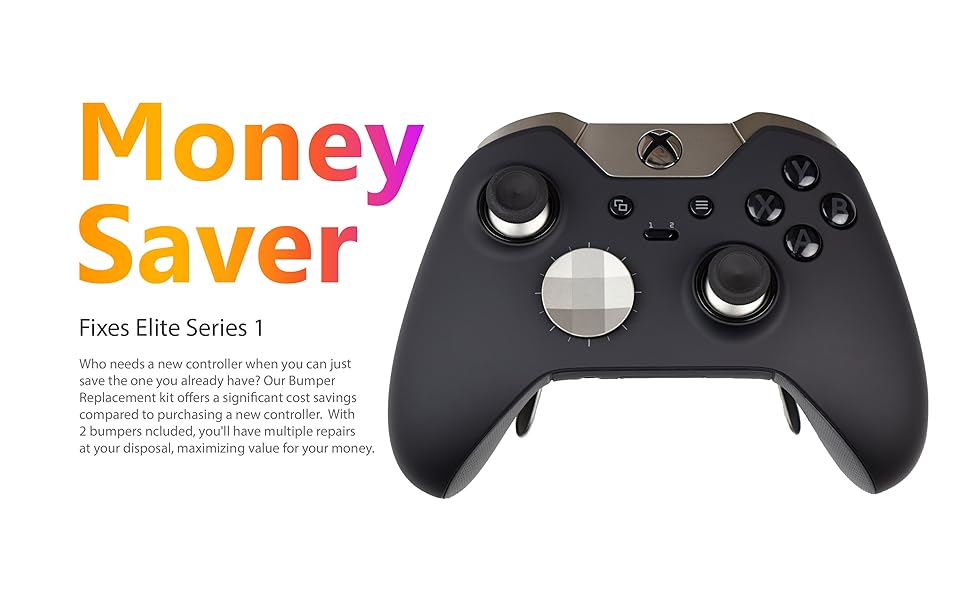
🎮 Game On: Revitalize Your Controller Without Breaking the Bank!
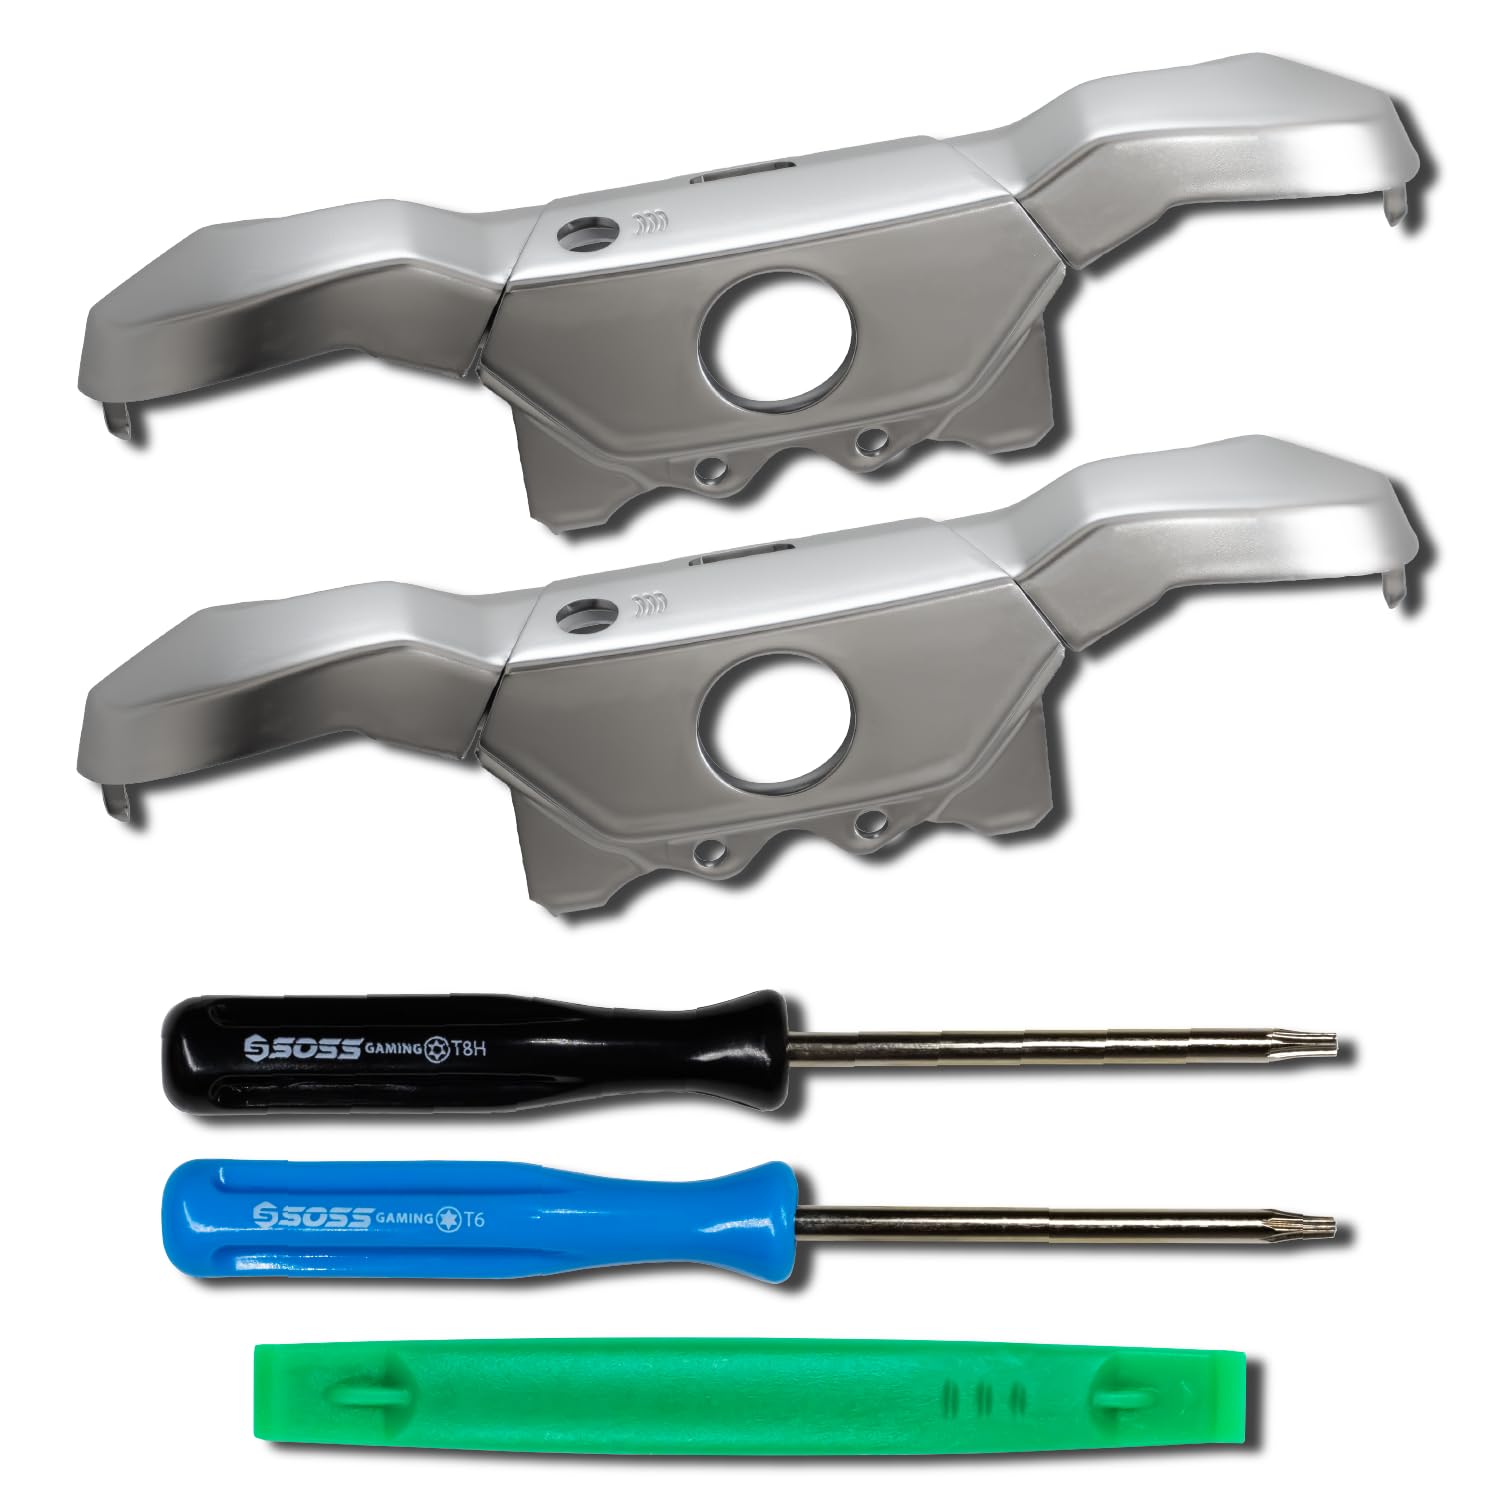
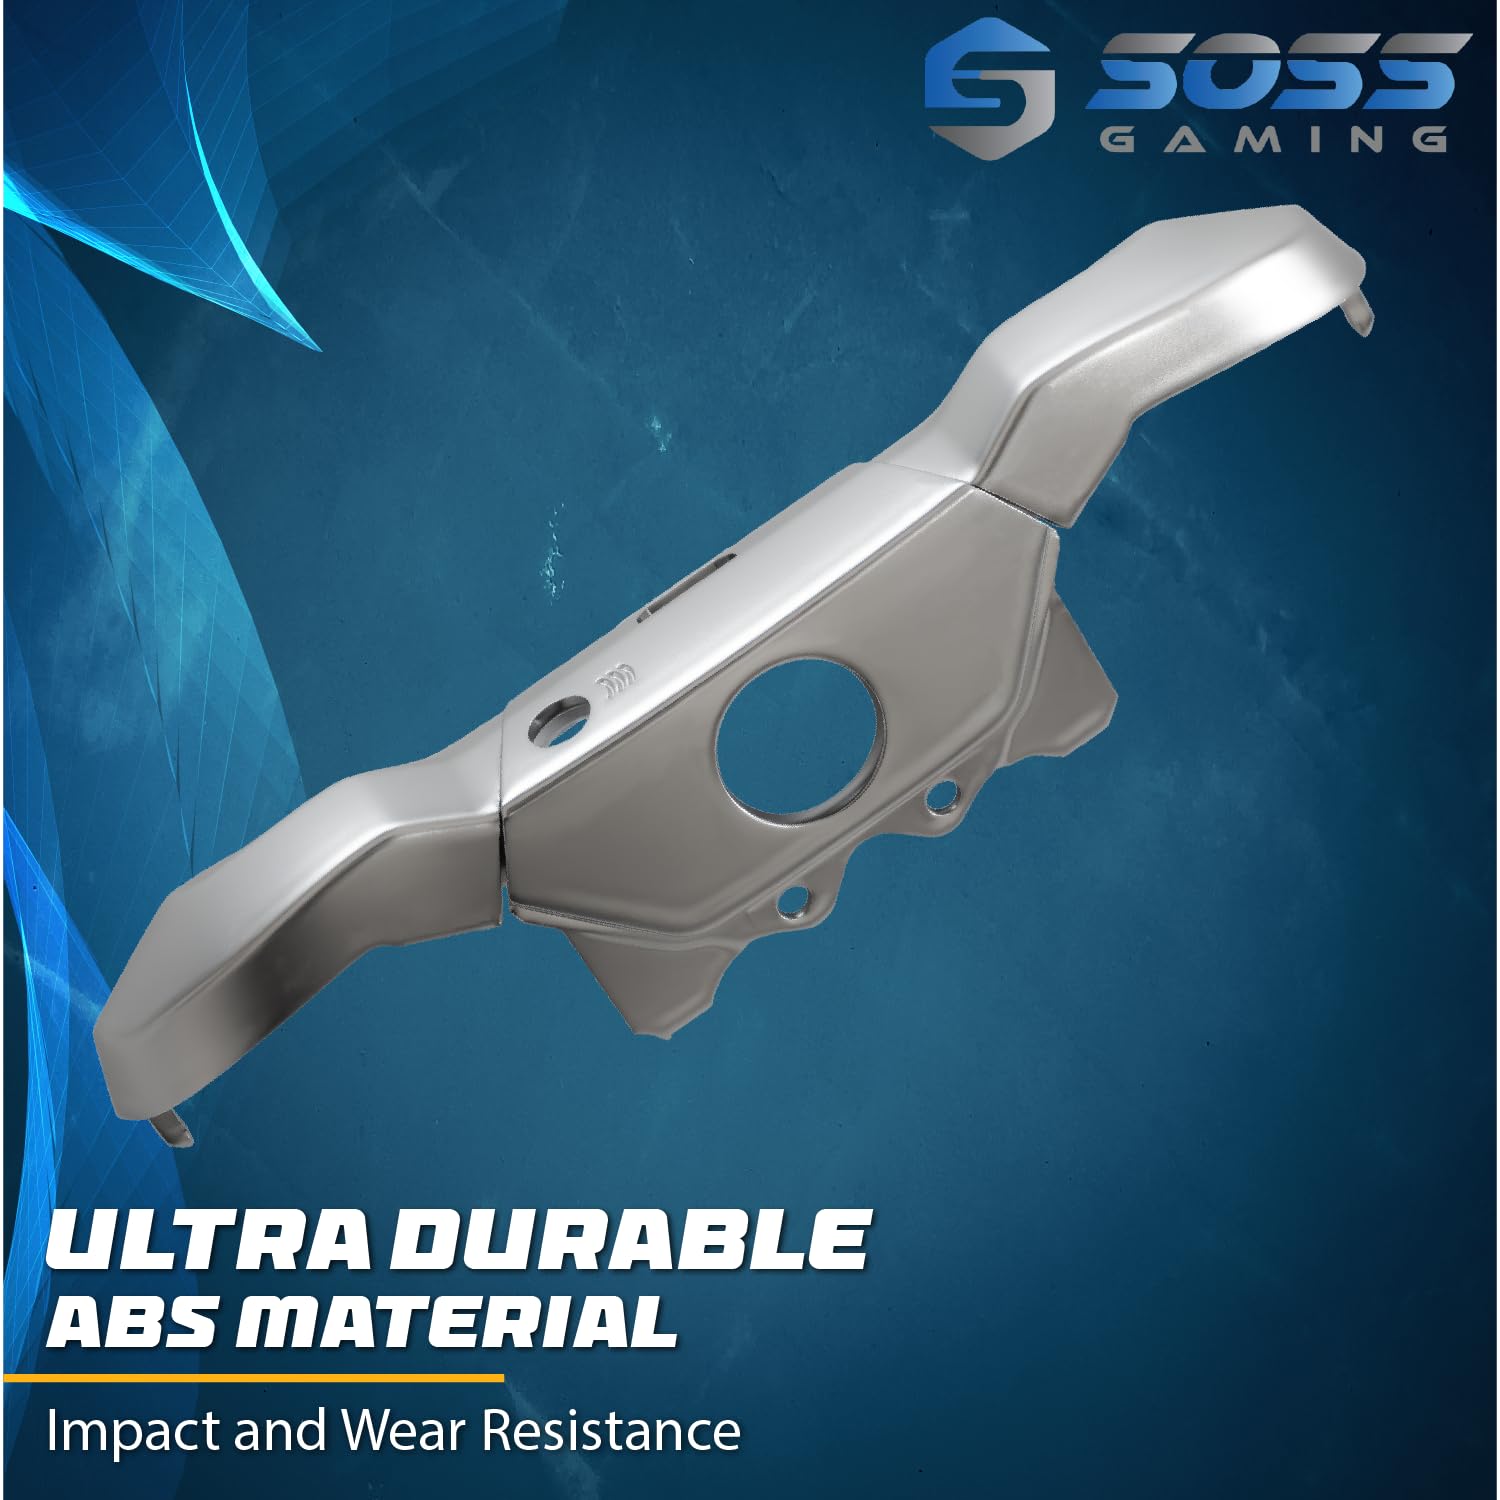
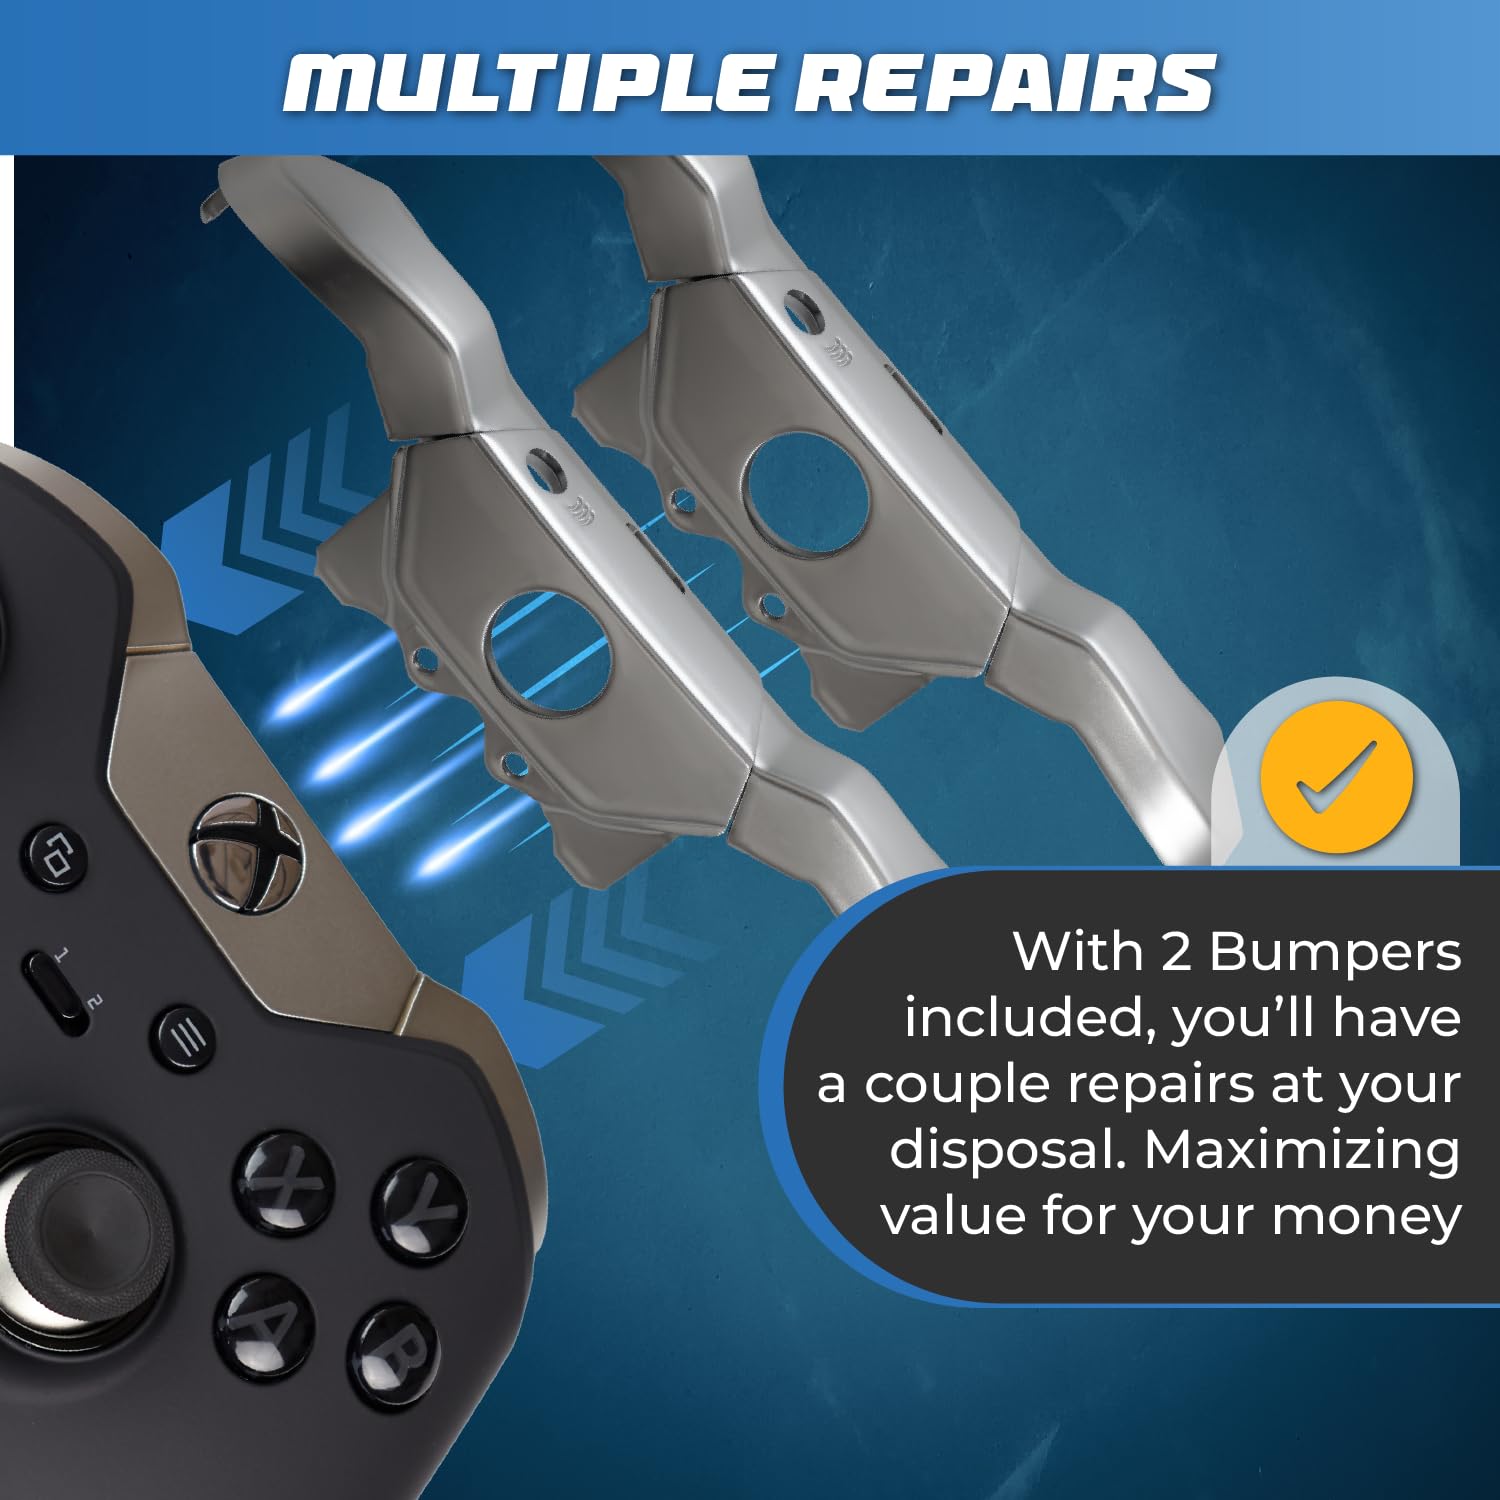
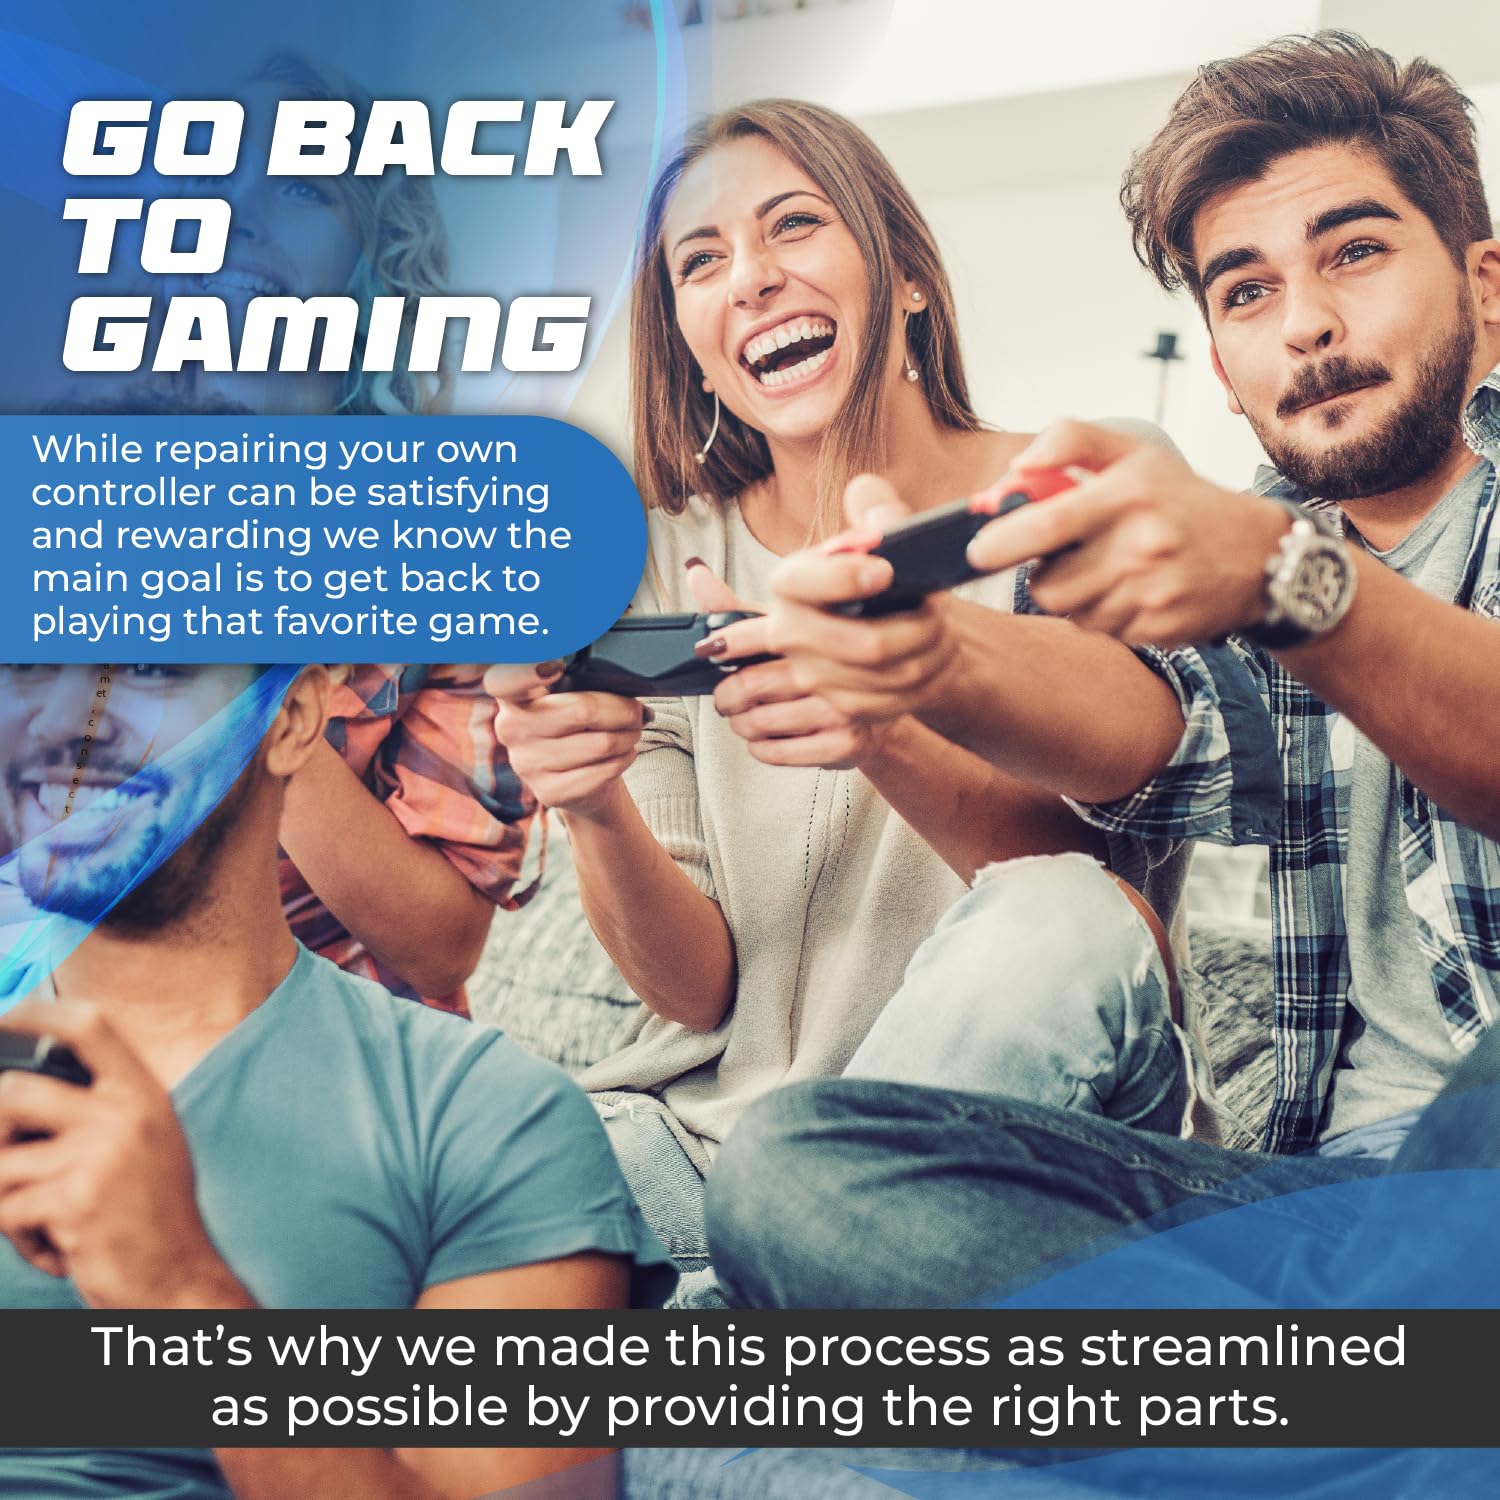
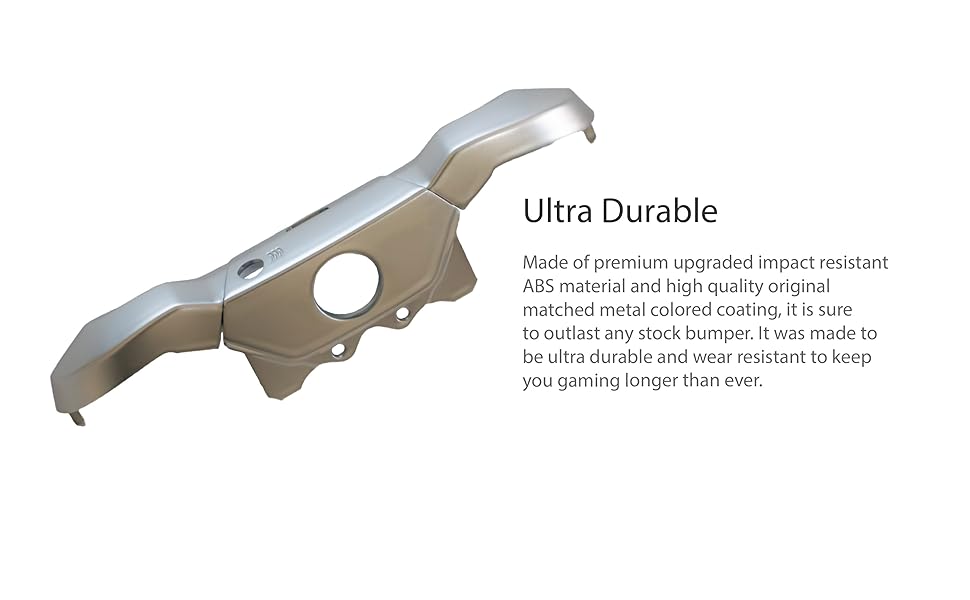
The SOSS GAMING® 2024 Upgraded Bumpers Replacement Kit is designed for Xbox One Elite Series 1 controllers, offering a cost-effective and easy solution to repair broken bumpers. Made from premium ABS material, this kit ensures durability and longevity, allowing gamers to enjoy their favorite titles without interruption. Installation is straightforward, with numerous online resources available, and the product comes with a 90-day satisfaction guarantee.

N**.
Easy and works
Easy install with the provided tools. Feels great so far
J**D
Read and then add to cart :)
First thing I wanna say is these are perfect and if you're looking to repair your Elite Series 1 bumper this is exactly what you need and all you'll need to do the repair. I will say this early on though for quick readers. You may have a little issue getting the bumper plate that goes over the Xbox home button on. I needed to apply a little upward force to the Xbox button while pushing down on the plate so it clips into the two circular posts. This isn't a bad thing but it's worth noting the fit is very snug and almost air tight perfect. All that being said I'm pretty sure these bumpers are better than the OEM Xbox ones. I've done this repair 3x now on 2 different elites and they've always felt like brittle thing plastic ready to break at any moment. With these I didn't feel like I was doing surgery. They just had a more durable presence which made installing them less stressful. Another good thing was the bumper bridge and the plate stayed together during the entire installation.If you've done this before you know getting the bridge and the plate to stay together is important and a hassle so it was nice all the pieces fit together so perfectly. Last but not least remember you need to pull your triggers down to get these on right. Be sure the bumper arms slide into their guiding posts and click against the tactile button before closing the controller up. Also remember that your Xbox sync button slides into a groove on the controller and NOT into the bumper bridge. The sync button should be connected to the controller before putting the bumpers and home button plate on. As for longevity goes we'll see but I feel confident just from the feel of them they're going to do just fine. I already plugged the controller in and spent some time using the bumpers and they're responding just right and feel great.
S**L
Affordable & reliable replacement bumpers for Series 1 Elite Controller (1698) - better than OEM
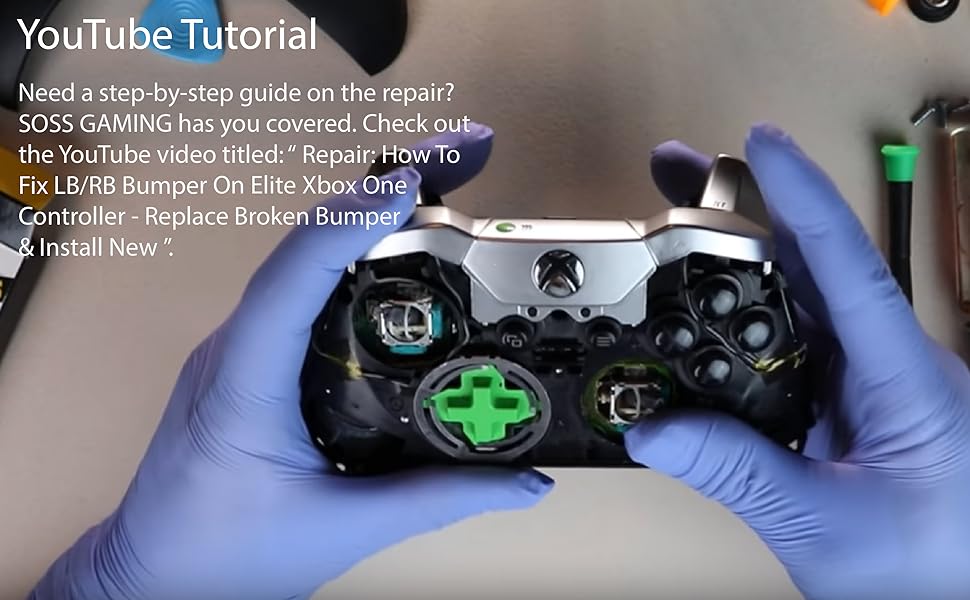
First off, you need to make sure these are the right part for your controller. These work for the Series 1 (if you remember which one you purchased ages ago). If you don't remember, open the battery compartment and look at the model information sticker. The Series 1 is Model 1698.Long story short - these are a good value. If I need replacement bumpers again, these are what I will buy.These replacement bumpers appear to be able to hold up a little bit better than the original bumpers (i.e., you will likely have to replace them, but they should last longer). I don't think this is a flaw for the SOSS brand... more a general design flaw for the controller. I don't think SOSS had much room to improve the design... it has to match Xbox's design or they wouldn't fit. The only way to make these unbreakable would to make the part out of metal...which would be more expensive.The color doesn't match the original bumpers exactly (these are a tad brighter), and the visual texture is a bit off, but it is close enough you won't notice unless you look closely.This kit came with everything you need to repair the bumpers: replacement piece, screwdriver, and prying tool. It also came with a screw driver that wasn't needed. The prying tool did not match what was pictured, but that worked out because it was dual sided, and one side chipped...so it was good to have the other side as a backup. The screwdrivers weren't as nice as pictured either, but they did the job.SOSS has a YouTube video that shows you how to perform the replacement. I'd post a link, but that would cause my review to be flagged as inappropriate. Just open YouTube and search "SOSS bumper replacement" and it will be one of the first few videos.We had 2 broken controllers (one broke within a couple weeks, the other broke after 2 years). I repaired both with this kit today. The first one took me 45 minutes (none of the YouTube videos show a close enough view of snapping these in place, so it takes a bit of trial an error). The second one took me 10 minutes.One suggestion: Once you remove the 5 screws, put the controller down face up, gently lift the faceplate, and take a close up picture. There are a couple of tiny pieces that easily fall out... it will be helpful to have a reference when you put everything back together.You should have some rubbing alcohol on hand also. Over the years, oils from our hands had seeped into the seams... which got worked loose while prying the grip pieces loose. You'll probably want to take this time to wipe down the seams before reassembling. It is a good time to wipe off any dust that got inside around the D-pad.ONE AND A HALF YEARS AFTER ORIGINAL REVIEW:Both replacement bumbers are working perfectly with tons of hardcore use
J**.
Perfect replacement for a broken bumper.
The left bumper went out on my 1st gen Elite Controller right when I was battling Manus in Dark Souls. At first I thought I would have to trash my controller since it was well out of warranty but a Reddit post brought me to this product. The installation was a little tricky as you need to get the replacement bumper seated just right so you can close up the controller. As I’ve never taken apart my dot roller before installation took about 10 minutes of trial and error and watching the YouTube theorist but in the end it installed just fine.So far in my gaming experience the bumpers work like new. It will be interesting to see how they hold up over time.
M**Y
Bumpers that will fit your xbox elite 1 controller..
I needed to replace the broken bumper on my xbox elite 1 controller i purchased from my son. These bumpers are of good quality and will get you back playing your favorite game again. And you will get 2 bumpers and 2 screwdrivers. So you have what you need to replace the broken one.It really is not hard to replace it. Their are videos on youtube on how to do it. I did it.I dont hold punches and tell you what to expect. You must do things in order. Underneath the controller there is a screw under the sticker that is why you cannot figure why it wont come apart. When you put this new bumper in. YOU MUST get the new bumper over the x box symbol look under the controller as youput it on. You will see 1 groove on each side between the trigger and bumper you need the bumper to slide under the 2 slots 1 on each side. You will have the green sync button fall out sometimes wgen lineing up the bumper to slide under the groove. It took me some patience and approx. 9 tries to slide it in. If the big xbox button is recessed under the big whole made for it. You dont have it right. Sometimes the bumper gets held up by the siver trigger. Pull the trigger and you may here a snap because the bumper was stuck between them. The product is punched out to the right size. It will slide over the big button and lay oerfectly over it flat. Good luck.
Trustpilot
1 month ago
1 week ago
1 week ago