Desert Online General Trading LLC
Dubai, United Arab Emirates
Desert Online General Trading LLC
Dubai, United Arab Emirates


🚗 Upgrade your drive: Wireless CarPlay meets classic Mercedes elegance!
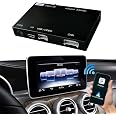
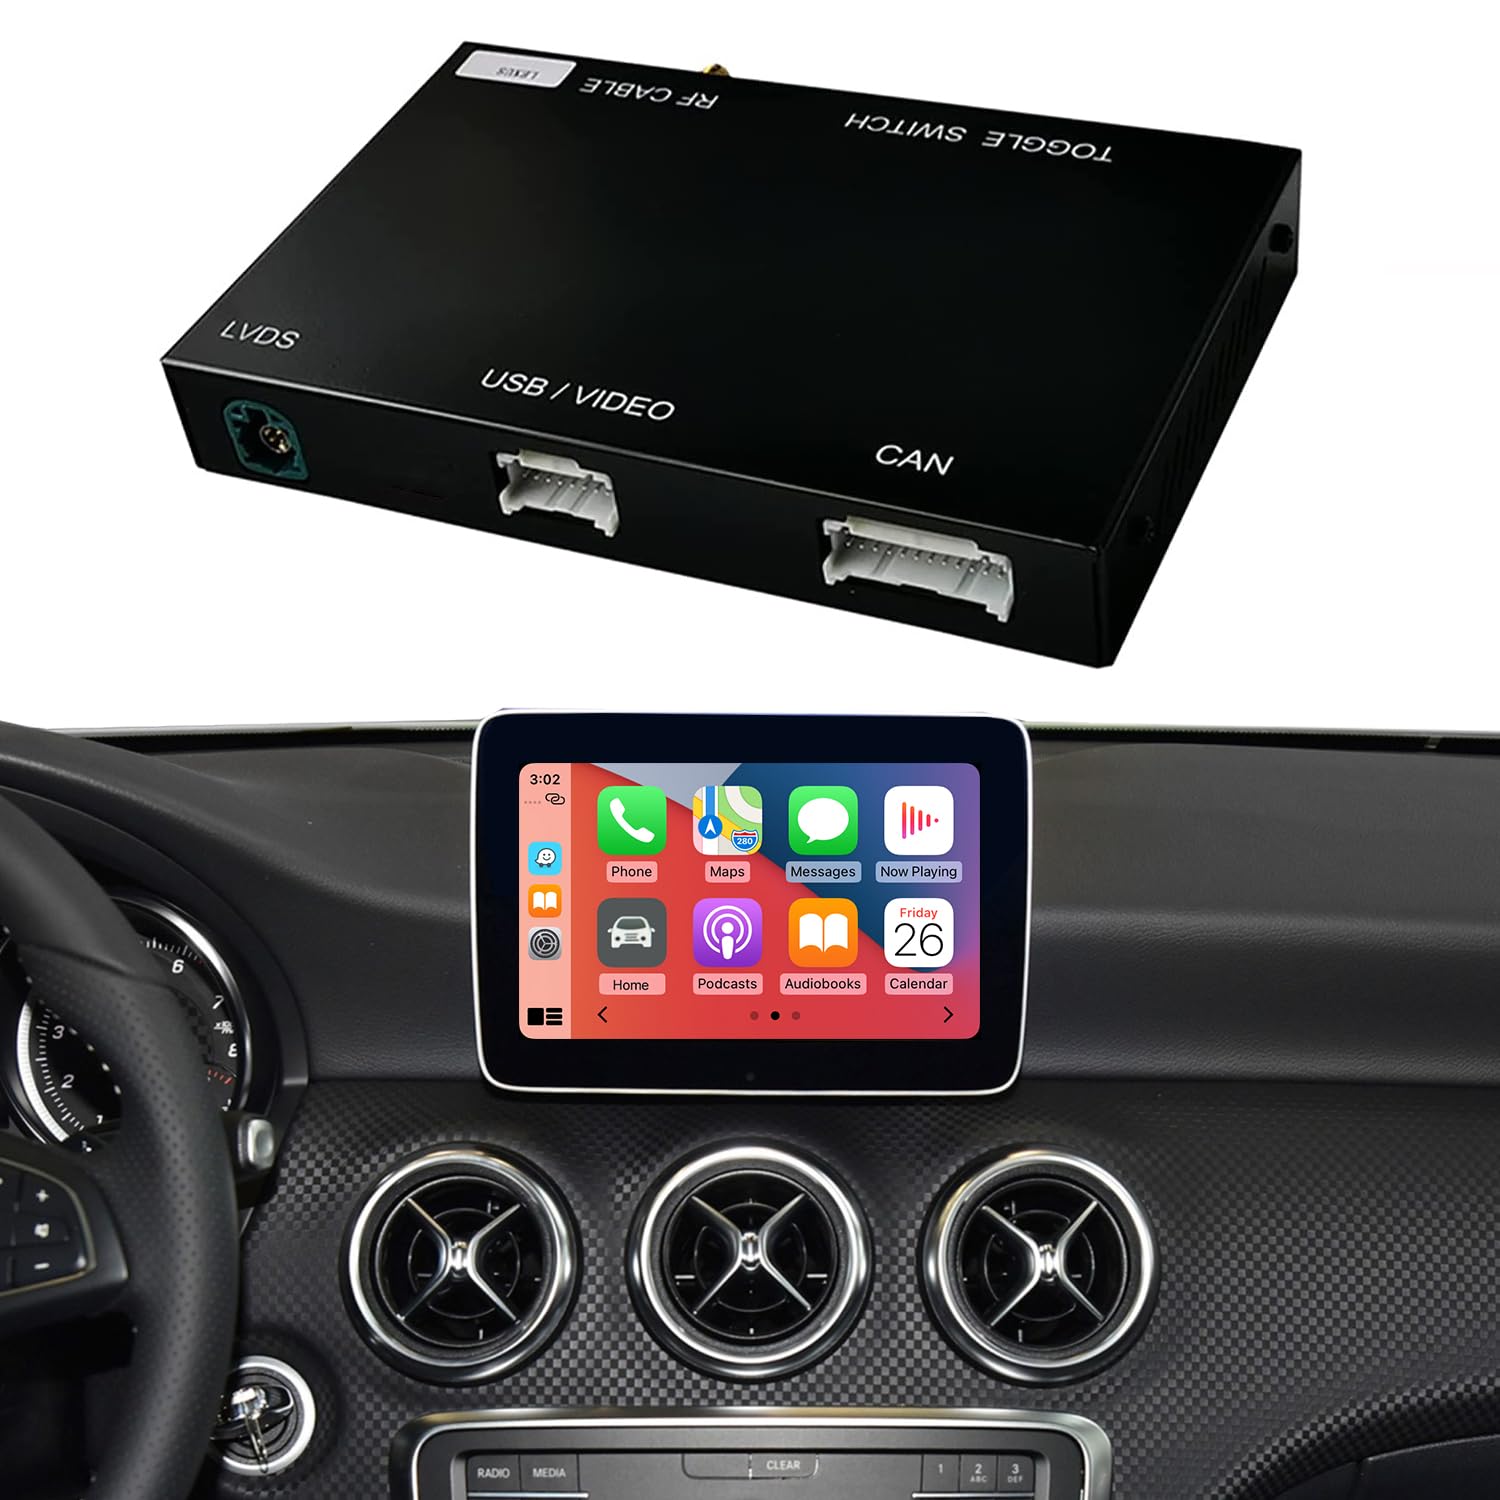
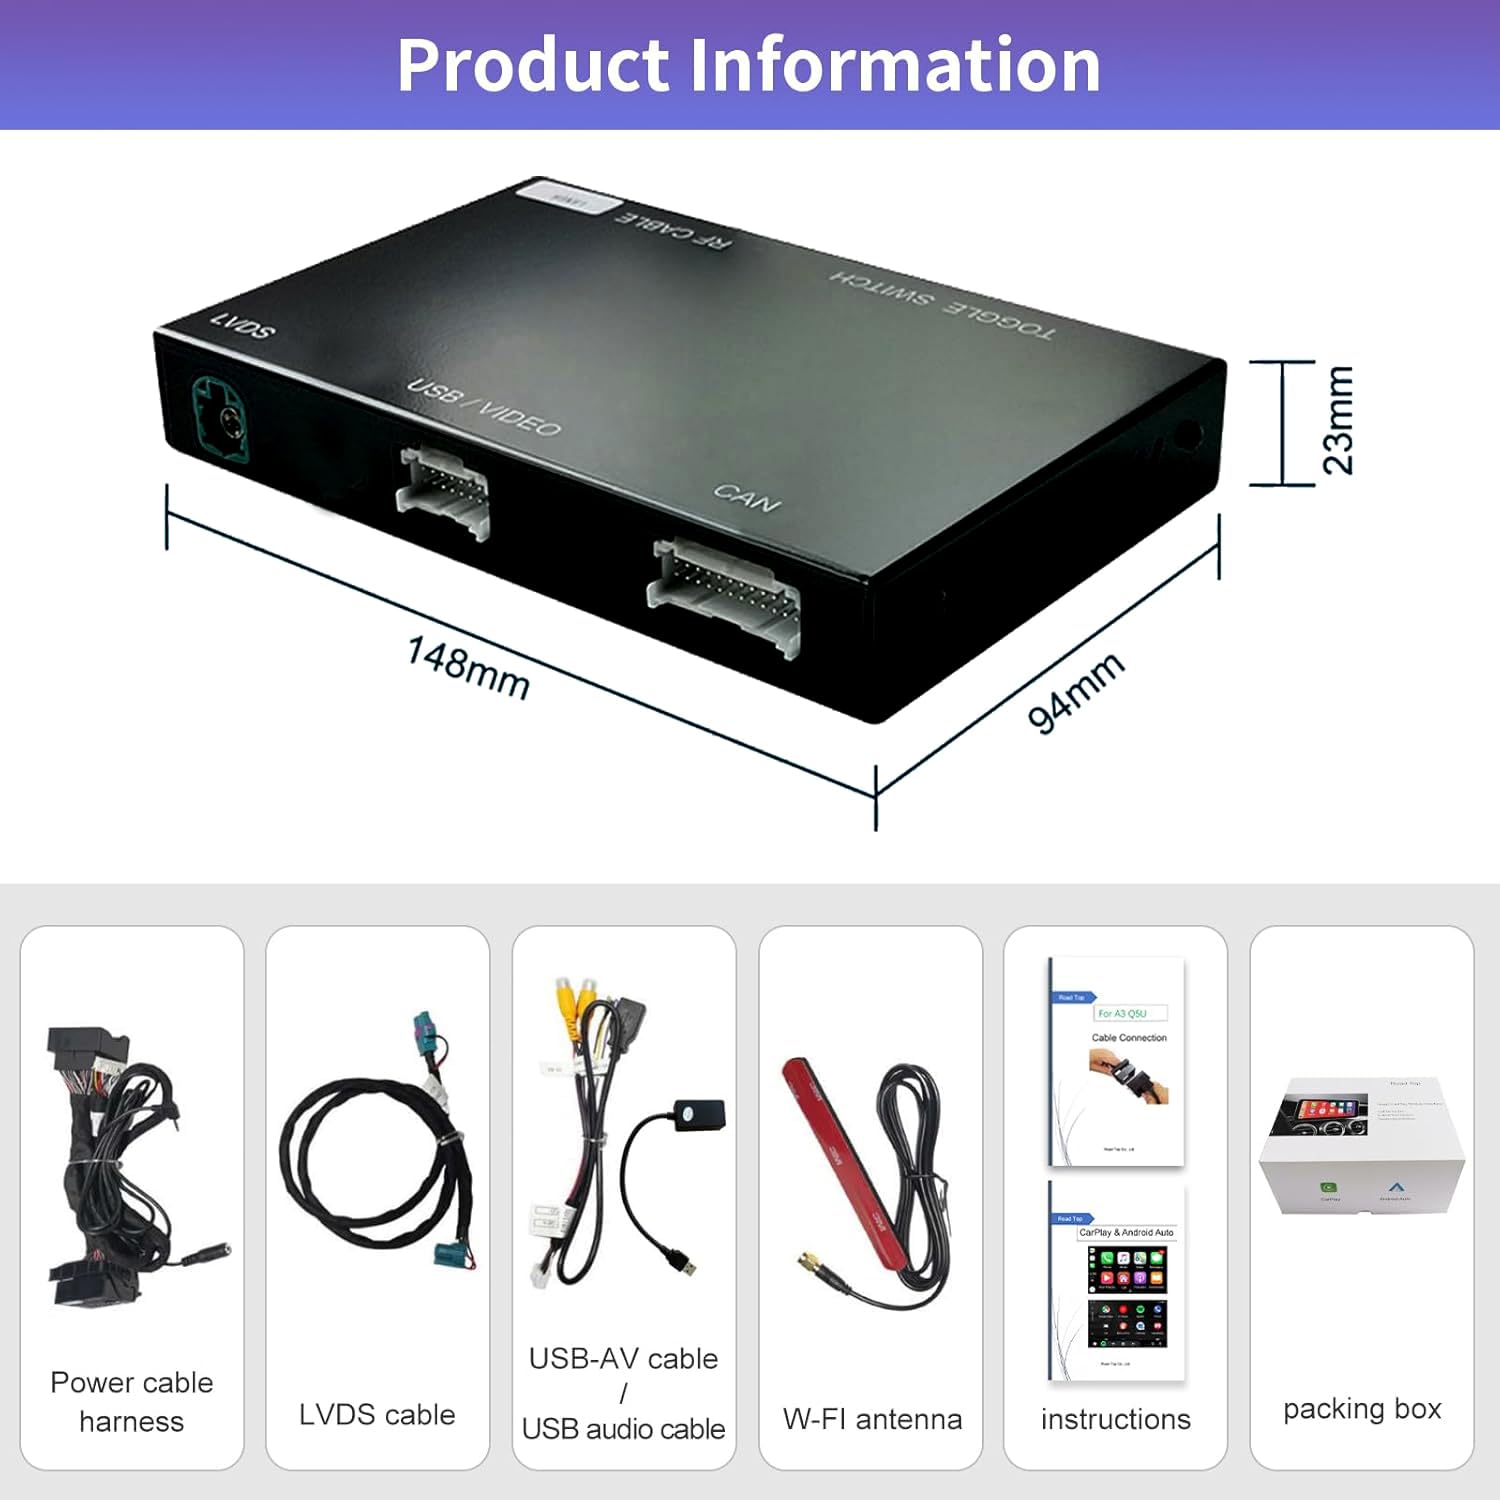
The Road Top Wireless CarPlay Retrofit Kit Decoder transforms your 2015-2018 Mercedes-Benz NTG5.x system into a smart, wireless multimedia hub. Supporting wireless and wired CarPlay, Android Auto, Mirrorlink, and multiple camera inputs, it preserves your original dashboard while adding seamless connectivity and voice control for a safer, smarter driving experience.


| Wattage | 5E+1 |
| Number of Channels | 4 |
| Output Wattage | 50 Watts |
| Video Encoding | MP4 |
| Audio Output Type | HDMI |
| Wireless Technology | AirPlay, Bluetooth |
| Internet Applications | Spotify, YouTube |
| Control Method | App |
| Connector Type | Optical |
| Audio Output Mode | Surround |
| Number of Audio Channels | 4.0 |
| Connectivity Technology | Bluetooth |
| Controller Type | Android |
| Additional Features | Bluetooth |
| Compatible Devices | Smartphone |
T**N
Works flawlessly IF...you install it correctly.
Functionality and execution are as advertised. Simply press and hold the ⭐ button next to rotary dial and you toggle between interfaces. Very straightforward.Pros - works flawlessly. Easy to toggle between interfaces. Product is well built. Support was responsive. Sound quality is good AND ADJUSTABLE (Volume/Bass/Mids/Highs).Cons...instructions are lacking. They are not lacking because of effort, they are lacking because there is a lot lost in translation from Chinese to English interpretation. However, it's not insurmountable.Tips....1. Pay attention to fiber optic plug. Removing it from stock plug is easy and just as easy to put into new plug (which is very well made). With that YOU MUST PAY ATTENTION TO ORIENTATION and make sure you plug it in correctly to new harness. Essentially there is a "top and bottom" and it matters. This is important because it will "fit" both ways but only work when properly oriented.2. Although the " Y adapter" for the display from stock head unit will fit multiple ways, there is only 1 " right way". Basically the "leg of the Y" must plug into factory head unit. The "arms of Y" then only fit one way and are self explanatory. Plugging these in wrong or out of this order will result in an "SOS MALFUNCTION" warning on the dash. I learned this the hard way.3. The GLC stock USB plugs in the console are poorly located. I recommend getting a 90 degree adaptor that makes for a cleaner install. I also added a mountable USB port for this install and mounted it in the console. Made for clean install and added less than 15 bucks to cost. Both available on AMZ.If you get weird errors on dash, they are almost ALWAYS related to dip switches set wrong OR the Y video cable outlined above .Hope this helps. Great product!
E**.
Computer box malfunction
Went through the installation process to then find out that all the sensors and errors were triggered by this product to the point my car wouldn’t let me started it.At first I thought it was the battery going bad, spend the time checking it and testing it. Battery checked to be find, and as soon as I unplug this box, the car function properly.I am not sure if it has to do with the unit being defective or maybe needs a software update to bypass all the MB systems.Anyways, sad to see this not working and I will process with a return.
T**S
Pretty simple install, great functionality
Ok so here's the deal. I just got this and there are a lot of videos about how to install it, but I ended up doing it my own way:1. You take a piece of plastic and pop off the center console silver-colored strip with the button on it, that's used to open the center console. You kind of just pry it up, then you press and hold the button and lift the whole piece up. It feels like you're going to break it, but it comes off.2. Now you take a Torx 20 and remove the 2 screws, and the whole center piece of the dashboard just lifts up. Go bottom to top.3. All these manual say to disconnect all the wires and talk about all the little connectors. I didn't disconnect anything. I didn't need to. I just rested the center piece slightly to the right, like on the passenger seat, with everything still connected.4. 2 more screws for the radio, Torx 20 again. The radio slides out.5. I switched out the main power cable, put the display cable, plugged in the main power to the little unit, and it just started working, but with no sound. I had to figure out that my car had fiber optic cables still sitting in the old power cable to the head unit, and I moved them over to the new power cable. I just tried different places. what worked is the end of the unit, the slot closest the edge.6. I had to plug the audio cable into a little USB adapter, and plug that into the USB port of the car inside the center console. I ended up first making sure that it worked, then I drilled a little hole into the plastic of the center console, you can't see the hole because it's like at the top back of the center console.7. I ended up stuffing the CarPlay unit underneath the radio, I just pushed all the cables back and it fit under it just fine.8. Put the radio back in, screwed the 2 screws, put the dashboard center piece back on, put the 2 screws.9. Now that I know how it is installed, I feel like this should take about 15 to 20 minutes. The main thing is, you don't actually have to disconnect any wires from the center dashboard piece, you just put the cables you need and shove the unit under the radio and put it all back. The most complicated thing was getting a little drill to make a space in the center console to run the USB adapter and audio cable.10. It's pretty great. I've had to restart it a few times, I'm not totally sure if it's glitchy or not, but it does CarPlay and even AirPlay total iPhone mirroring, which means that you should be able to watch Netflix and stuff while driving. Well, your passenger can anyway.
R**B
Works great. For a while at least.
Product is actually very easy to install. I would skip the USB connection as it is wholly unnecessary (connection quality is bad, and is not needed at all to function). The best install video shows unplugging all of the plugs from the back of the center console, but you can remove the whole console by unplugging the two white plugs inside the tunnel, and the two at the top of the console plus the cigarette lighter. Then you are not resting the console on wires and can just put it in the backseat. Fiber optic cables (thicker orange wires) unclip on the outside of the factory connector, and go in the same slot on the new connector (outside slot).For best audio, once everything is set up by connecting Wi-Fi and Bluetooth to the CarPlay******* connections, go into settings on the CarPlay interface and set the MB Bluetooth as default. Will automatically connect Wi-Fi to the CarPlay unit, and audio to the factory Bluetooth, so phone calls and audio work and sound like they should. Bypass USB connection and the CarPlay units Bluetooth, you will be unimpressed if you don’t.That said, we had to have the unit replaced once shortly after purchase, and now out of warranty, the unit is bad again, and is making a clicking noise. Audio works but video screen does not, and switches on console are also dead. Removing the unit brought everything back to life. Luckily we are trading the car in anyway.
Trustpilot
1 month ago
2 weeks ago